T-Car Camp Aircon System 2018
Goal
Design a cooling system for 6 Shiftpod tents, optimizing for:
- Minimal power consumption. While we have a generator running 24/7 in the camp, it’s not very powerful. Power budget for cooling was about 2.5KW, so installing a separate A/C unit in each tent was not possible.
- Minimal cost. One dual-vent aircon unit (recommended for a single Shiftpod) costs about $380.
Design
- Six shiftpods in a circle.
- Two window-mounted A/C units in the middle.
- Each aircon has an insulated box attached to it with two connectors for large insulated ducting.
- There are two large insulated ducts that connect these boxes:
- One duct is used to get cool air into the pods.
- The second duct is used to get warm air back to the a/c units
- There are 6 smaller ducts connected to each of the large ducts (so 12 smaller ducts in total) that go into the shiftpods.
- Each of the 6 smaller ducts that are connected to the cool air supply duct has a booster fan at the end (inside the shiftpod) to move cold air into the pod. Warm air is “pushed” to the “warm air” duct (requires all doors and windows of the shiftpod to be closed).
Overview
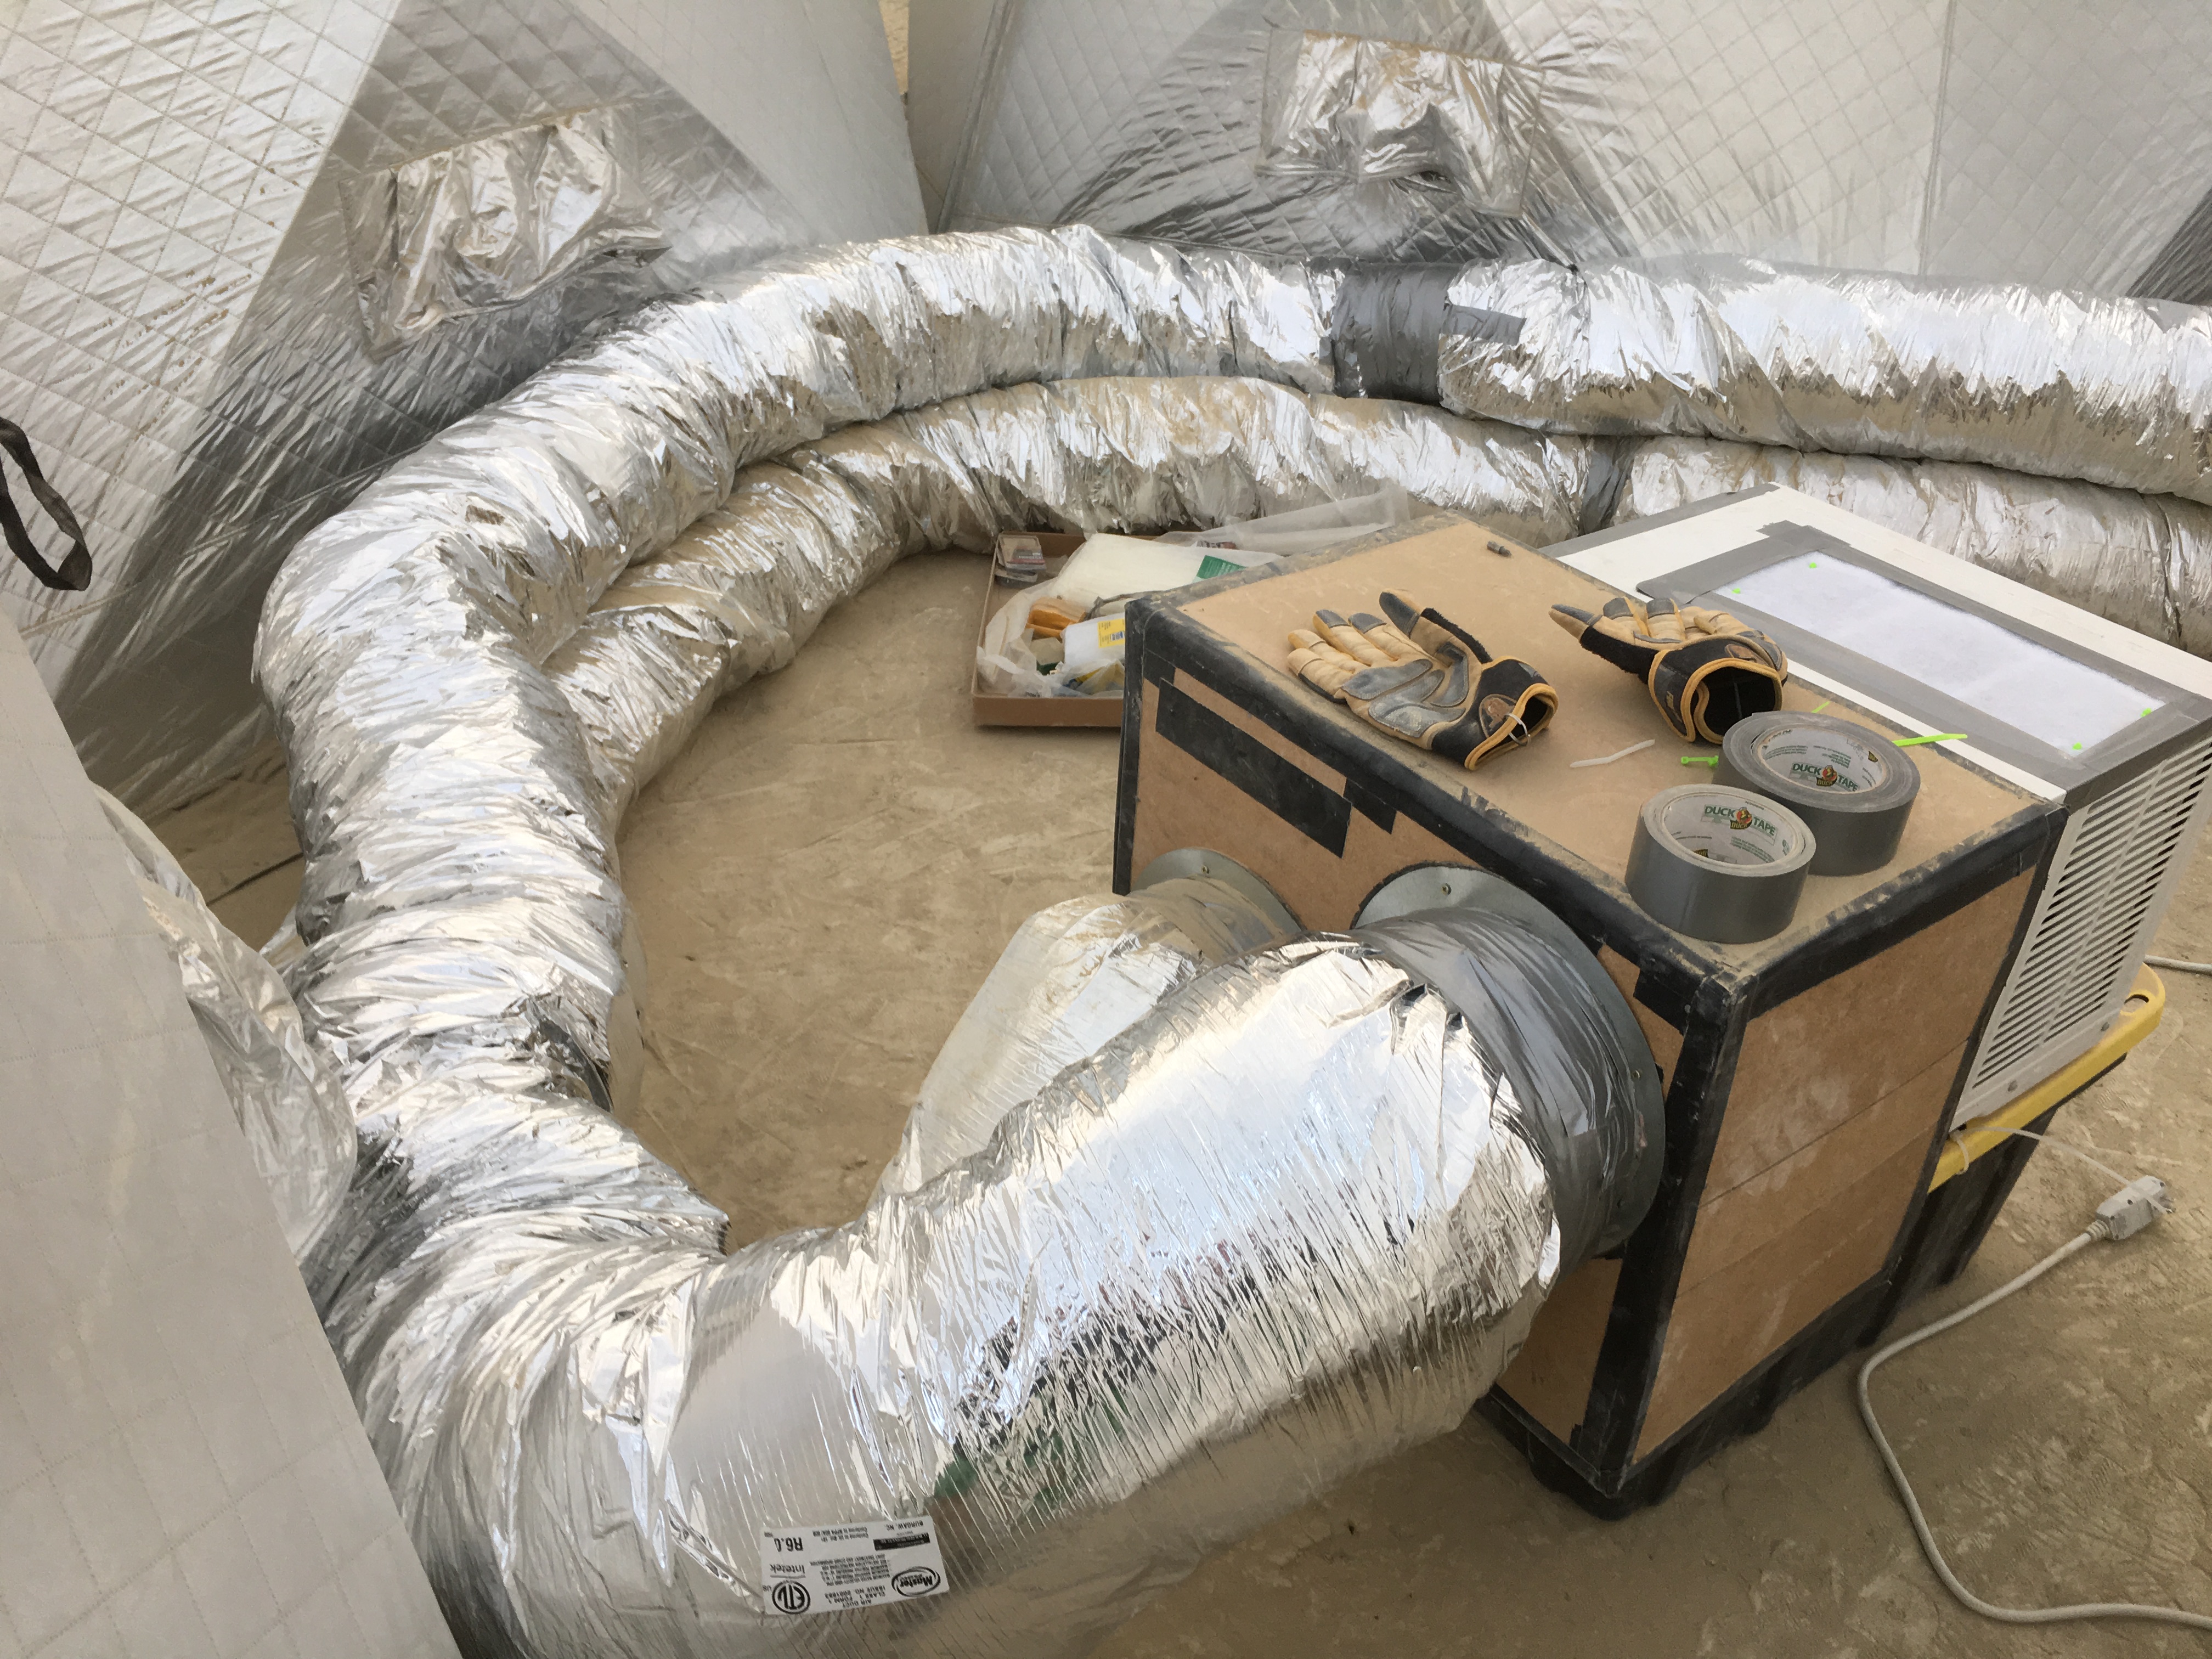
This shows half of the system - one aircon and three shiftpods. The second half looks identical (the large ducts are connected to the second A/C box).
Note that the smaller ducts are not connected to the large ducts yet.
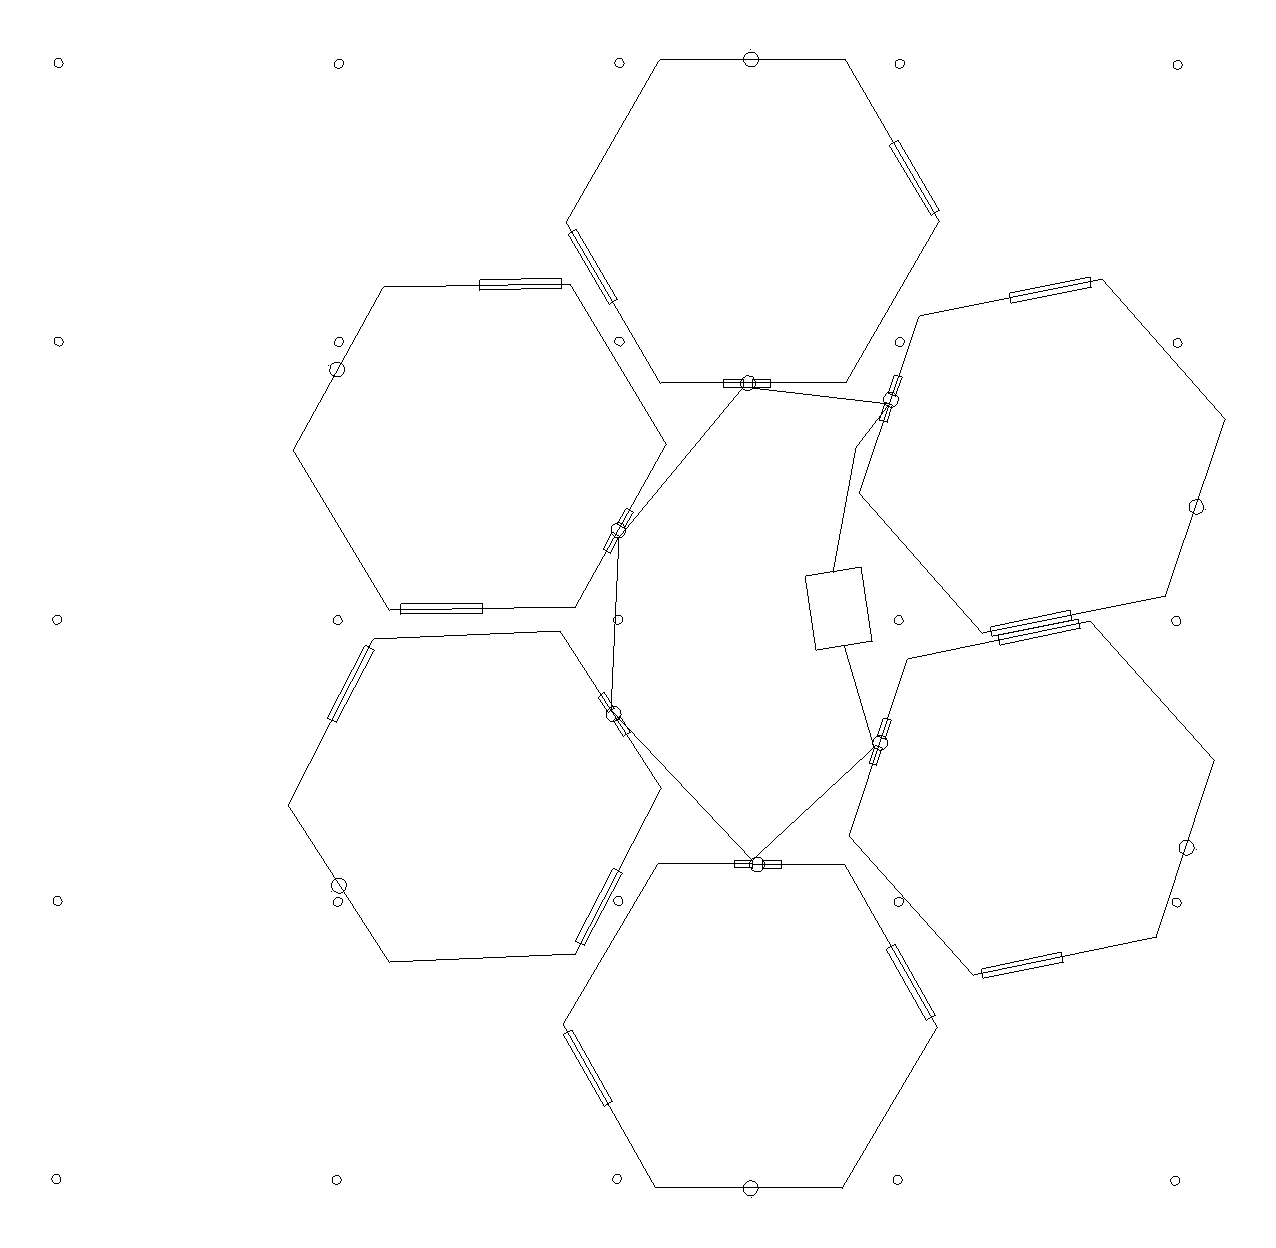
Top view
This shows the arrangement of shiftpods under our aluminet shade structure, ducting and the position of the A/C units (the box represents both A/C units).
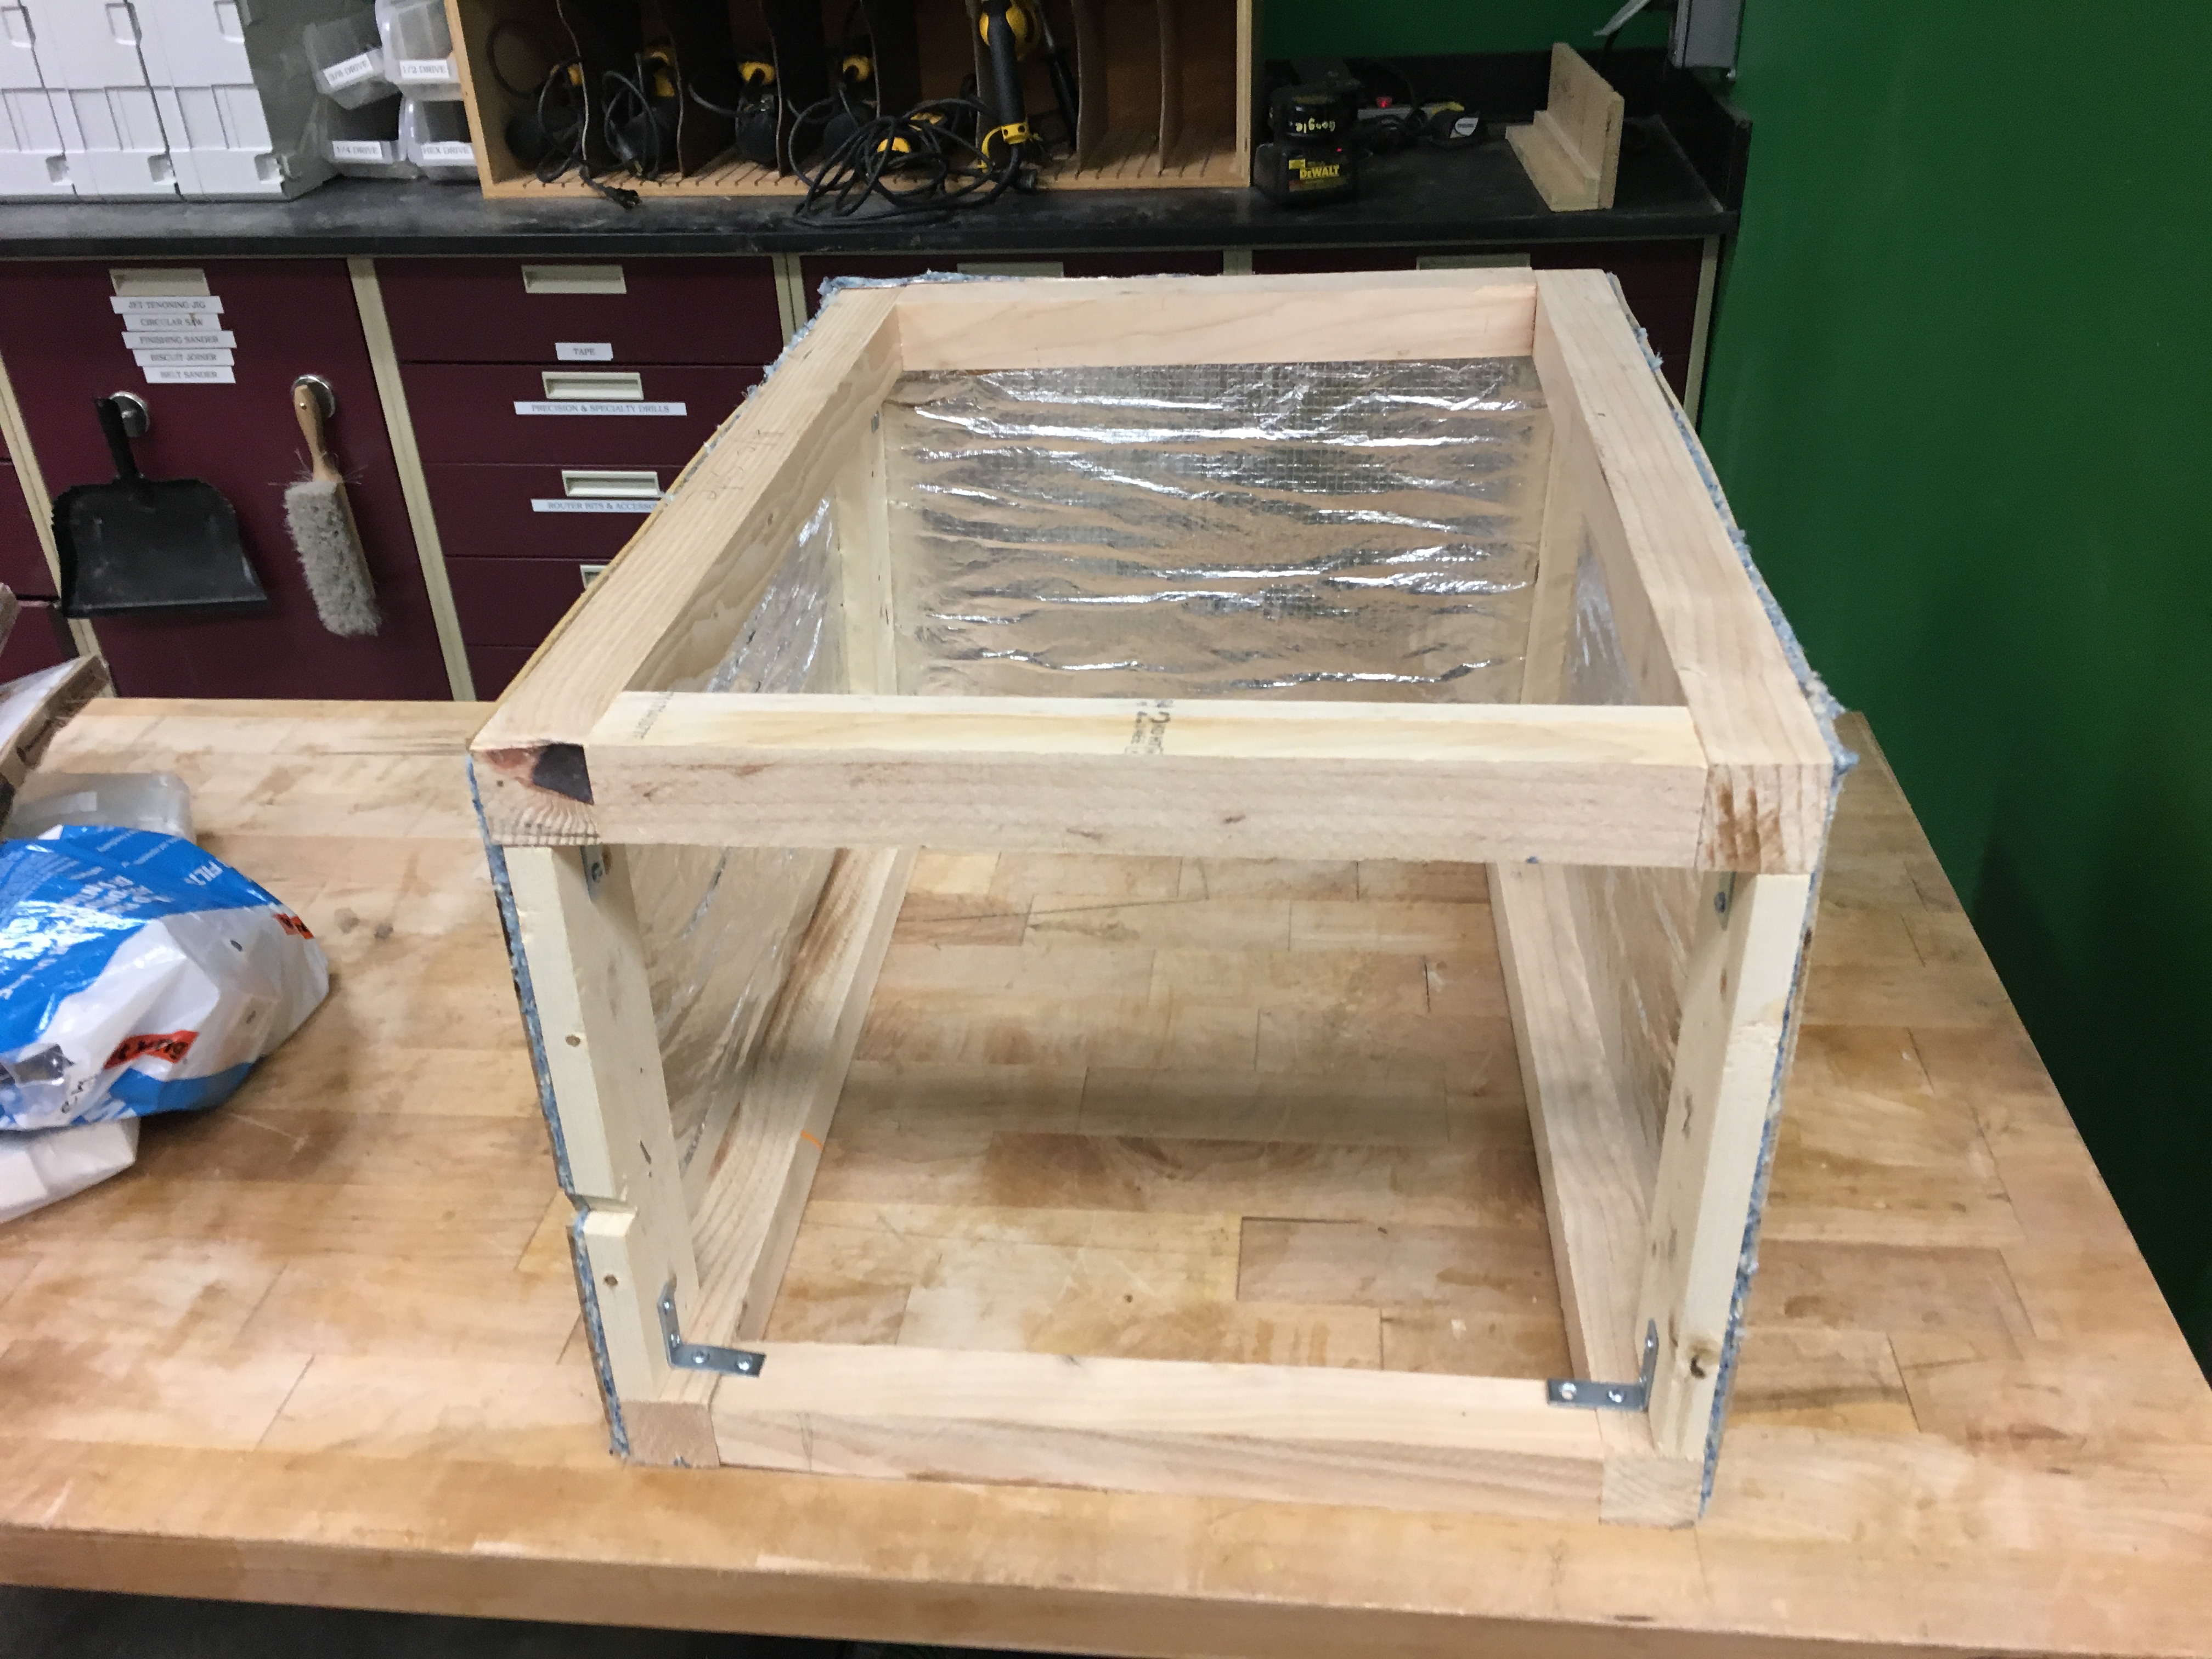
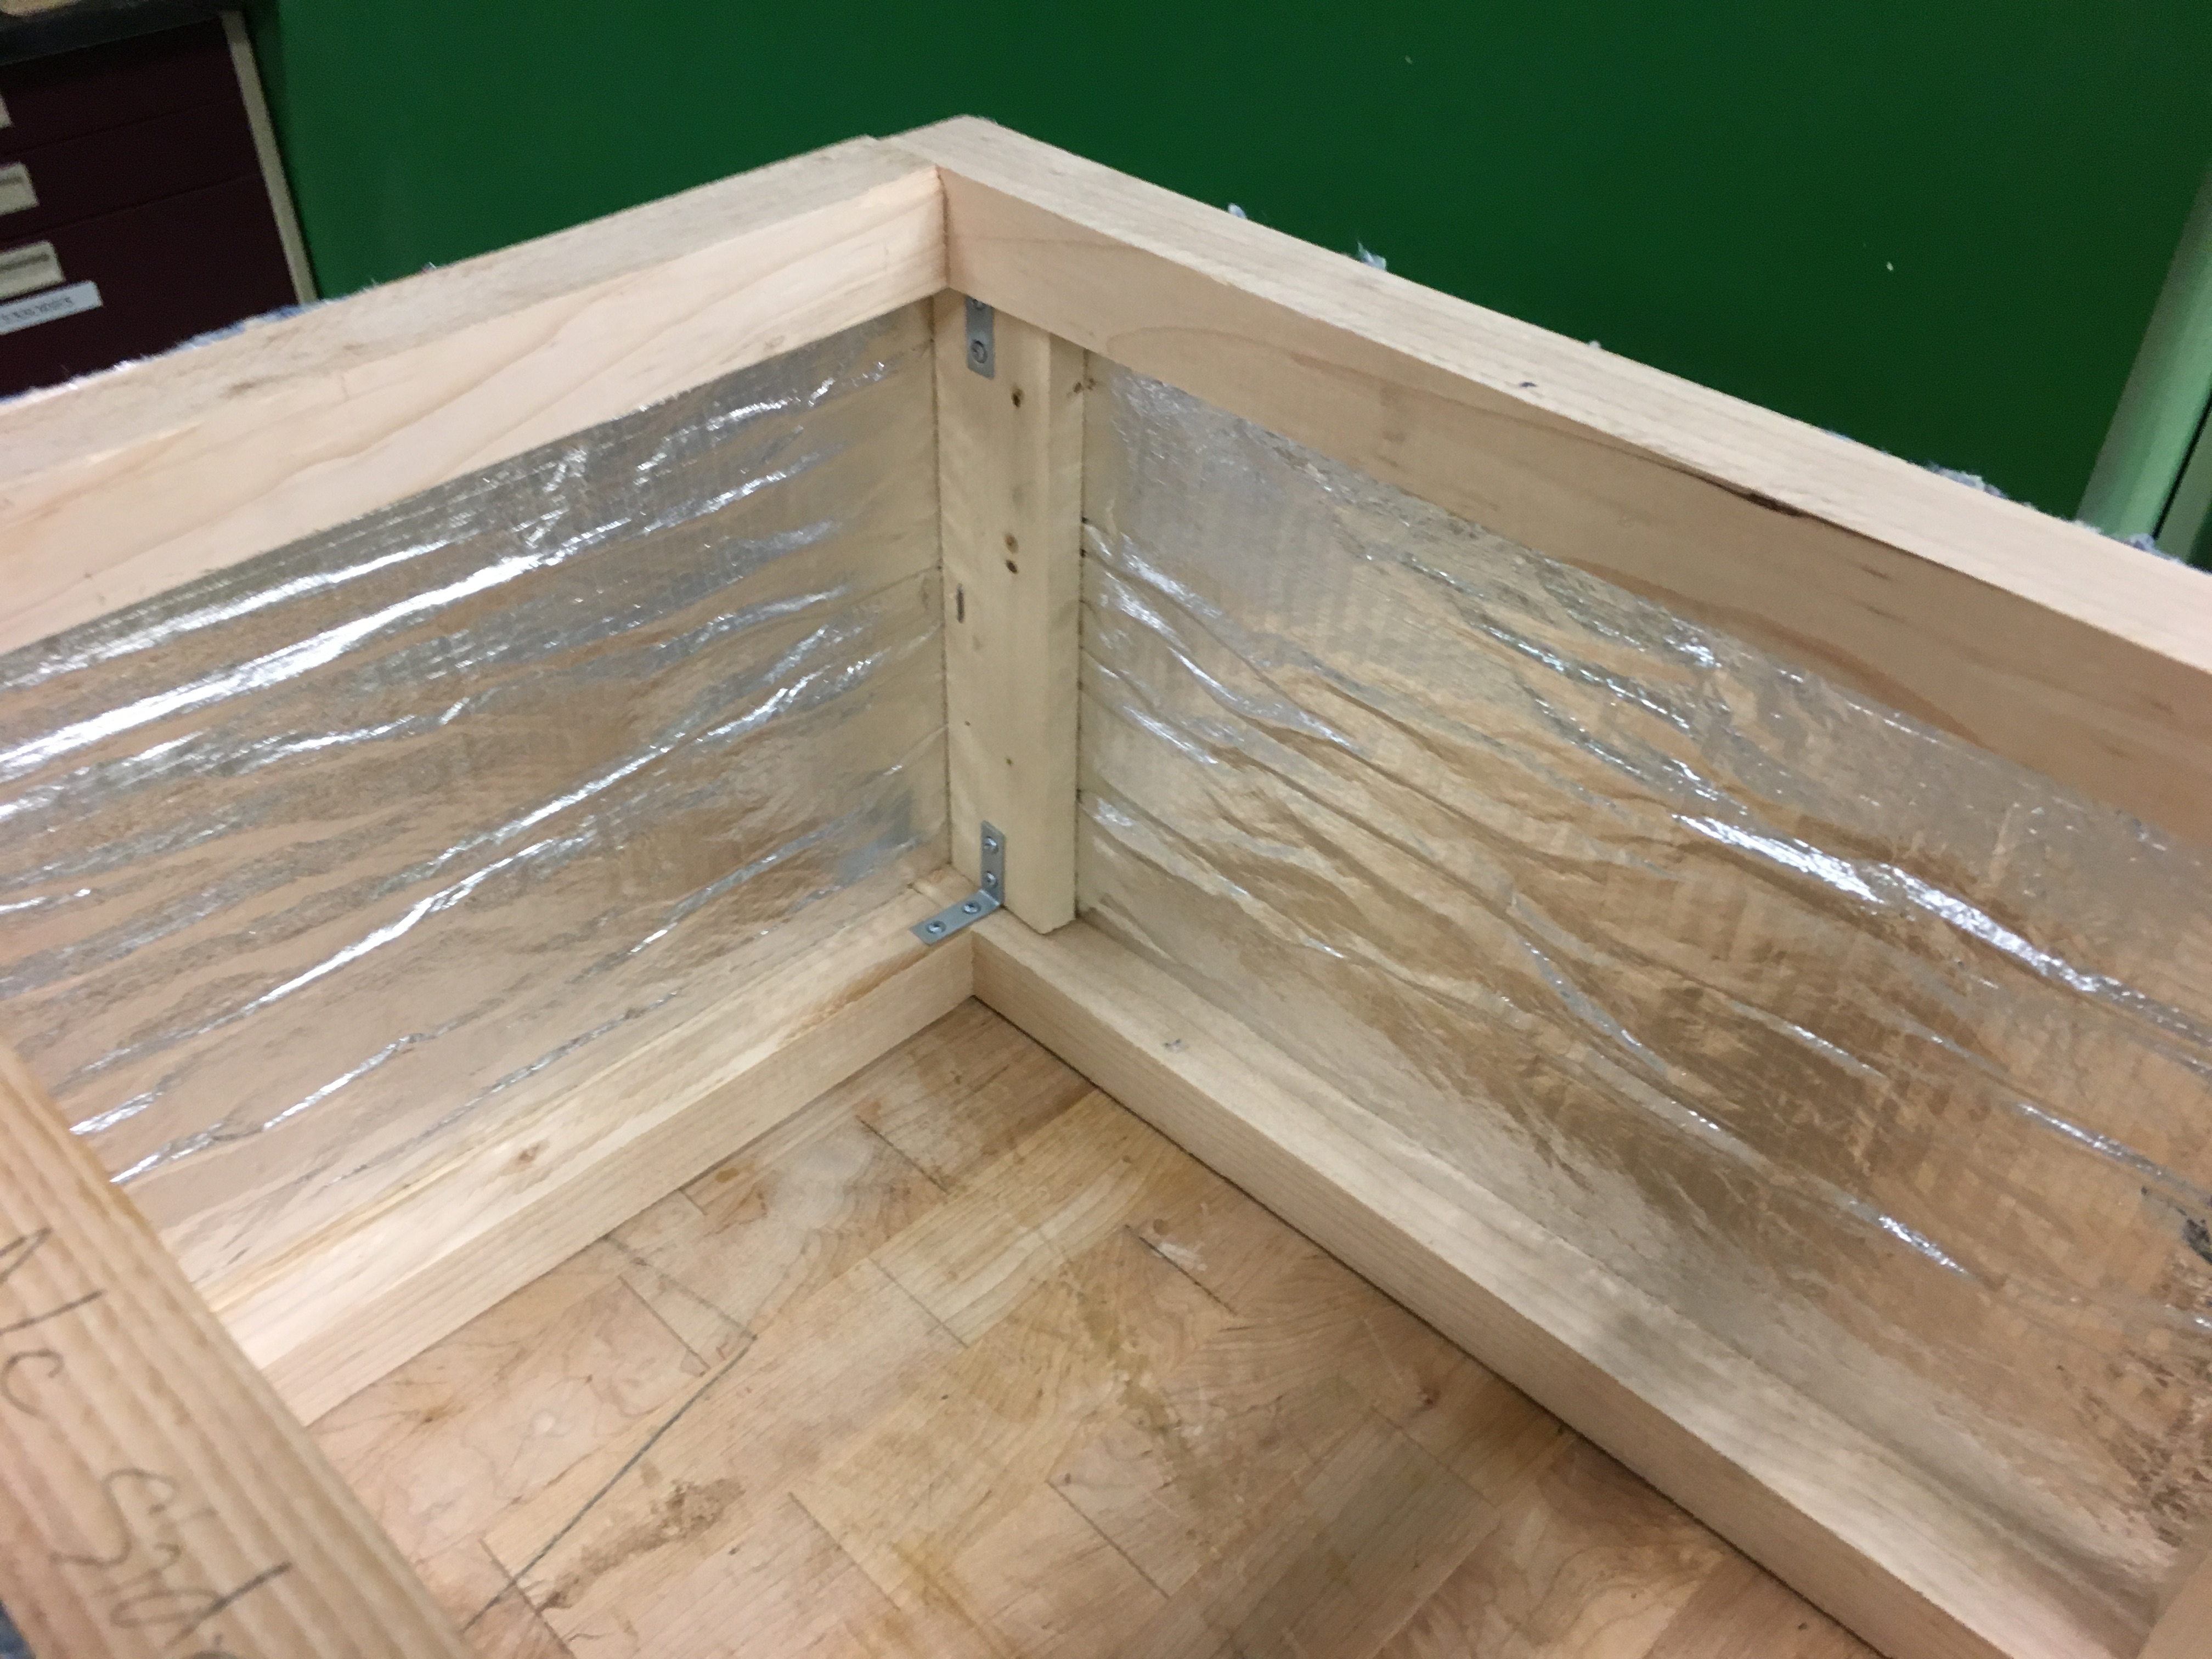
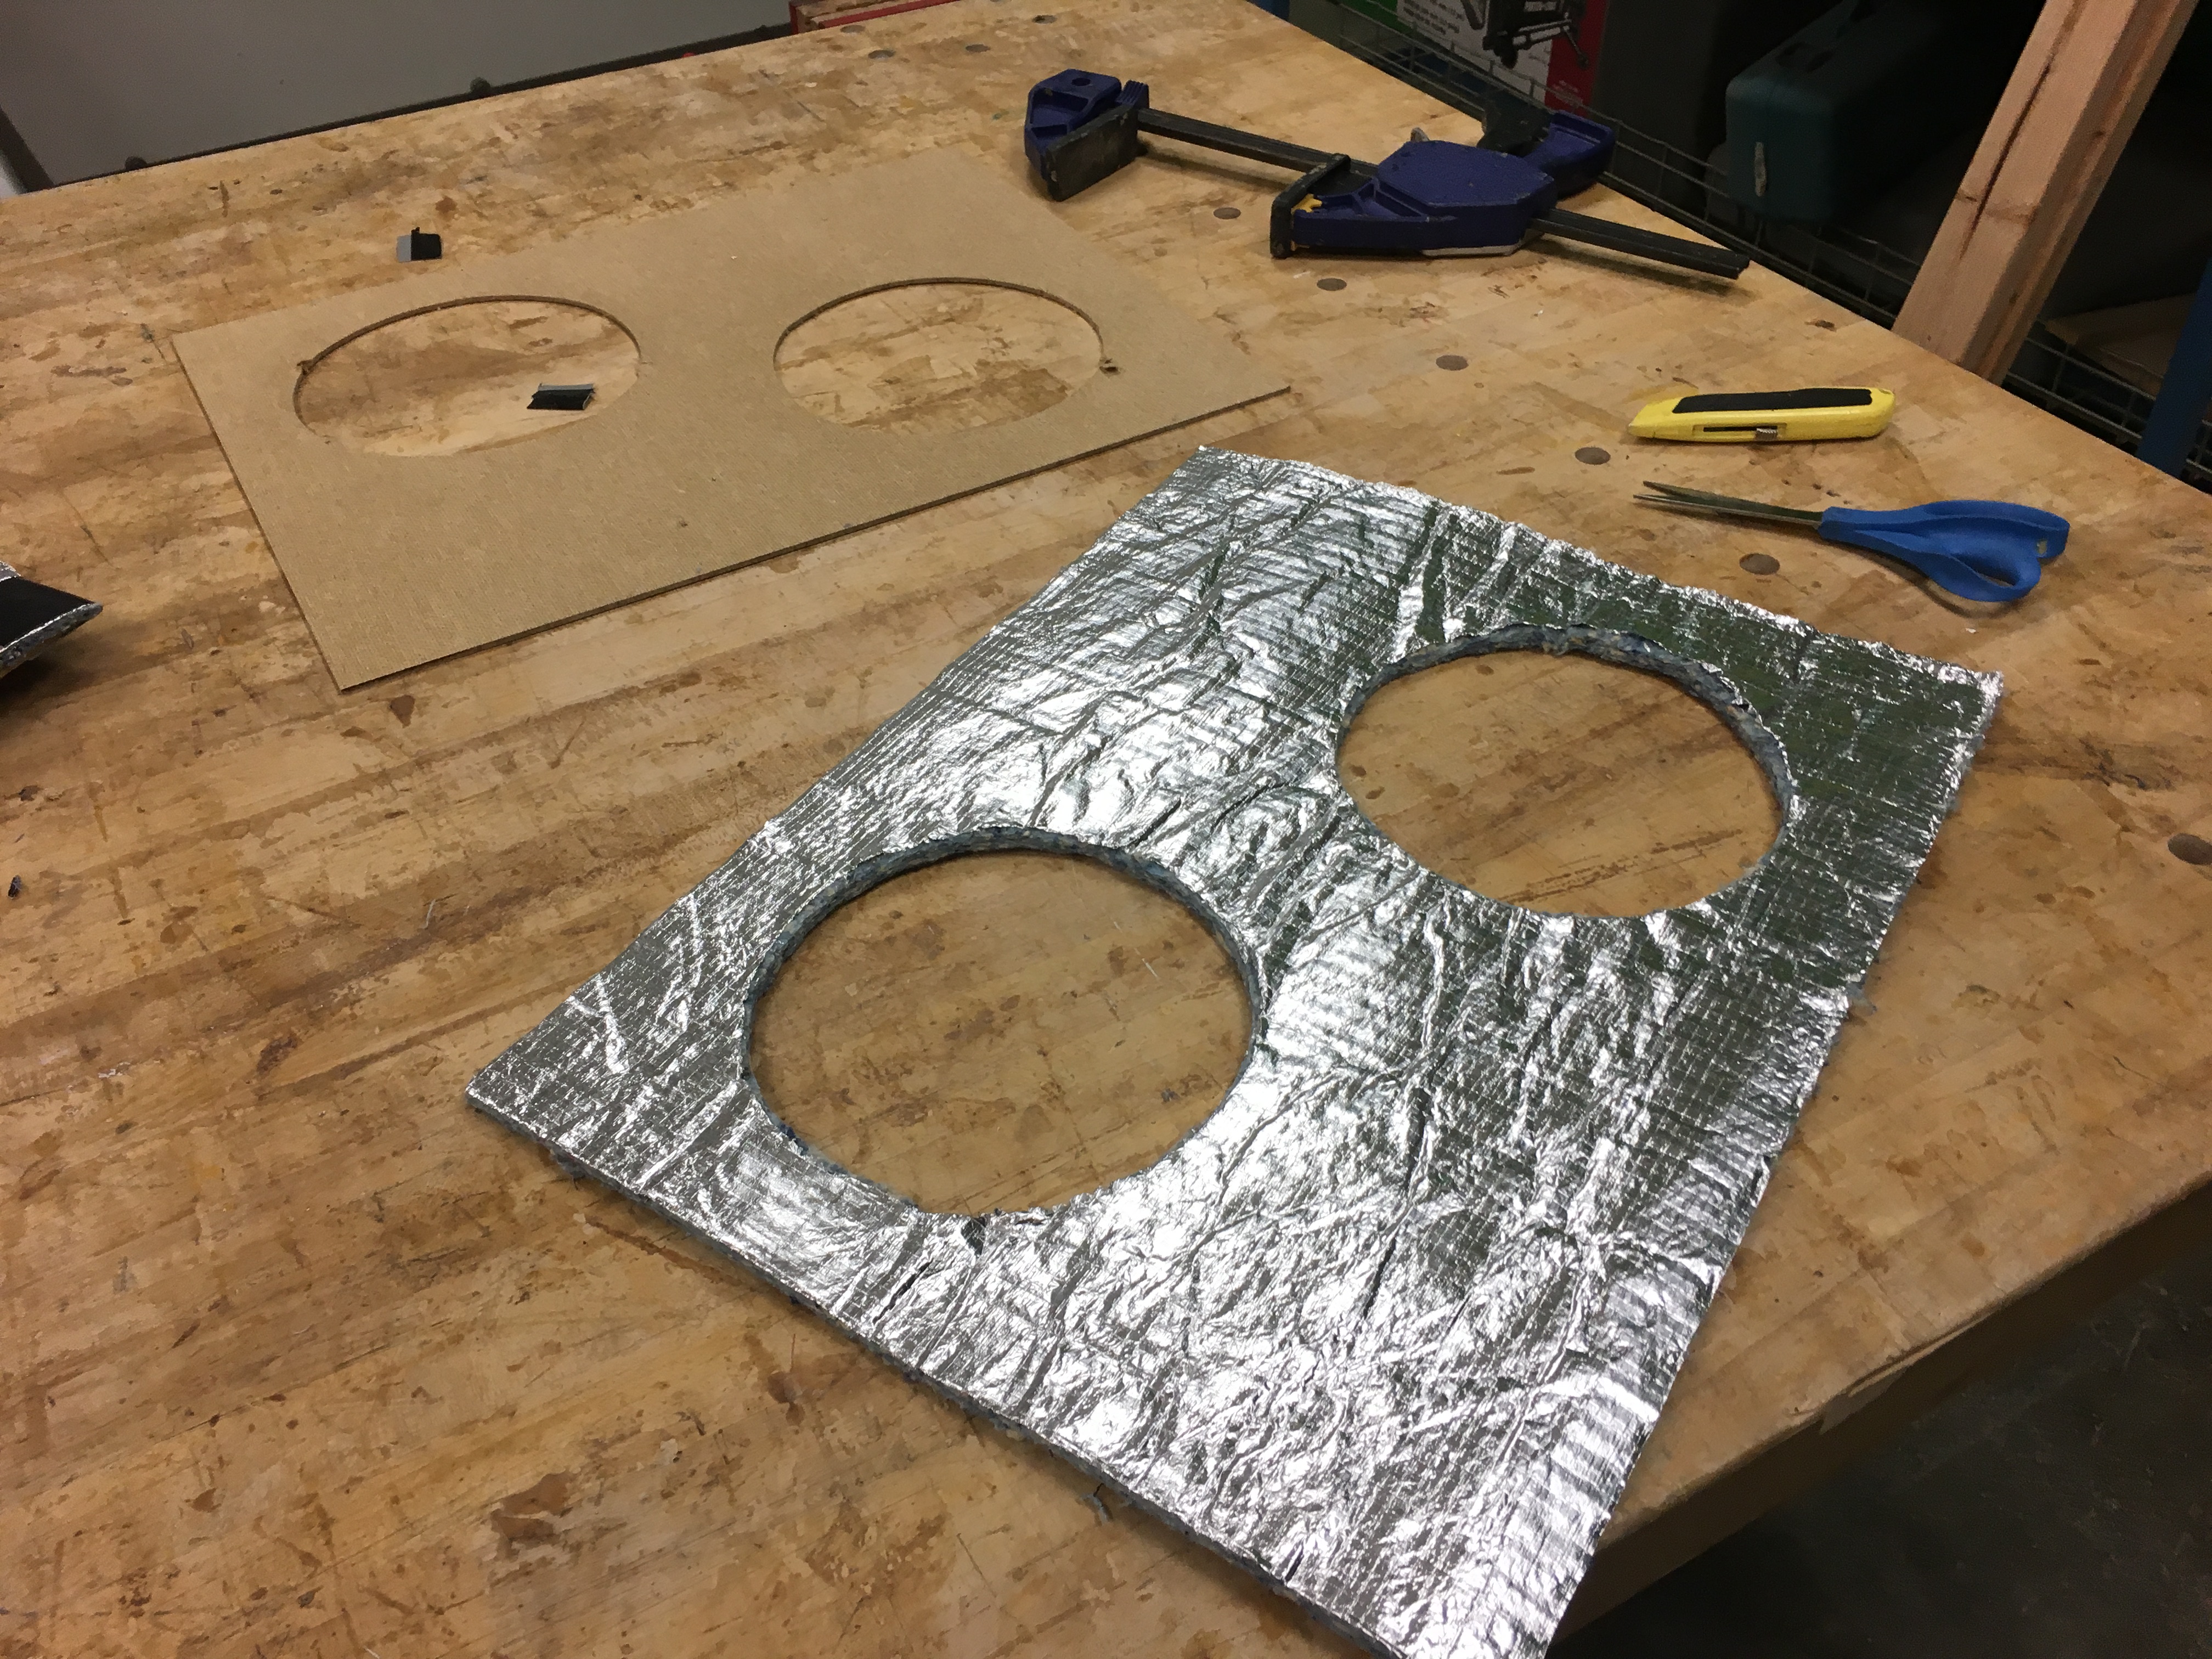
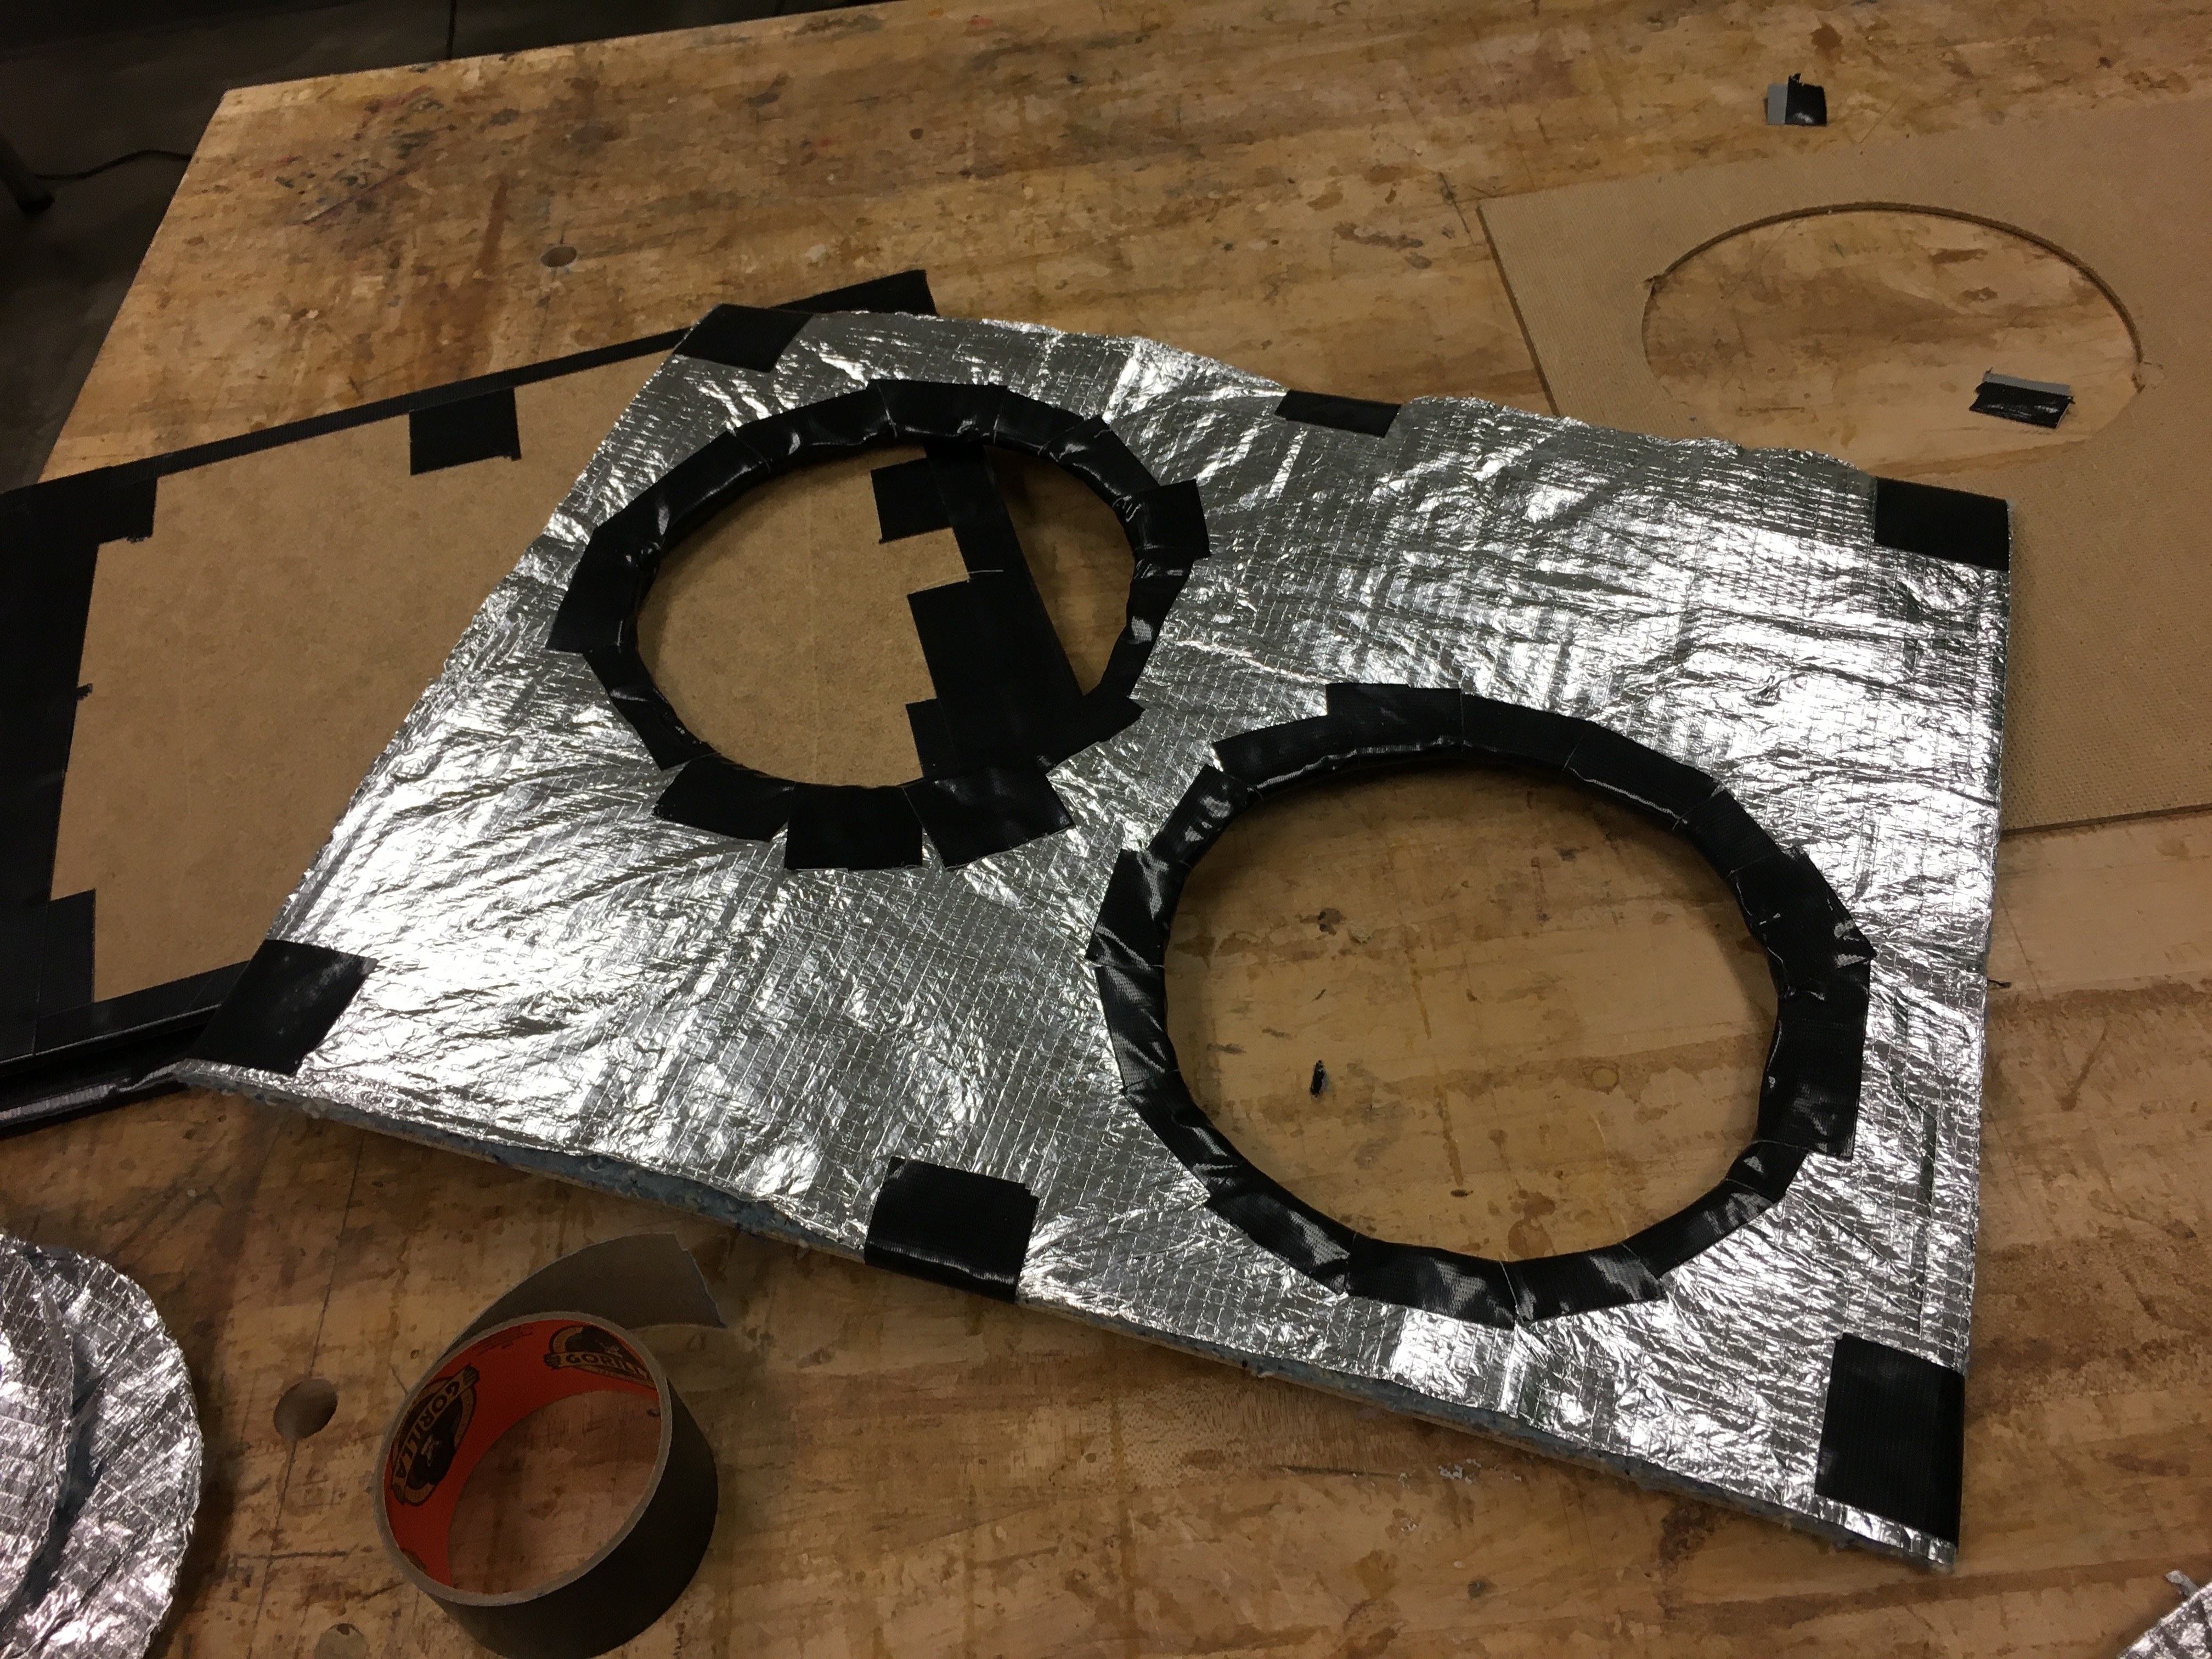
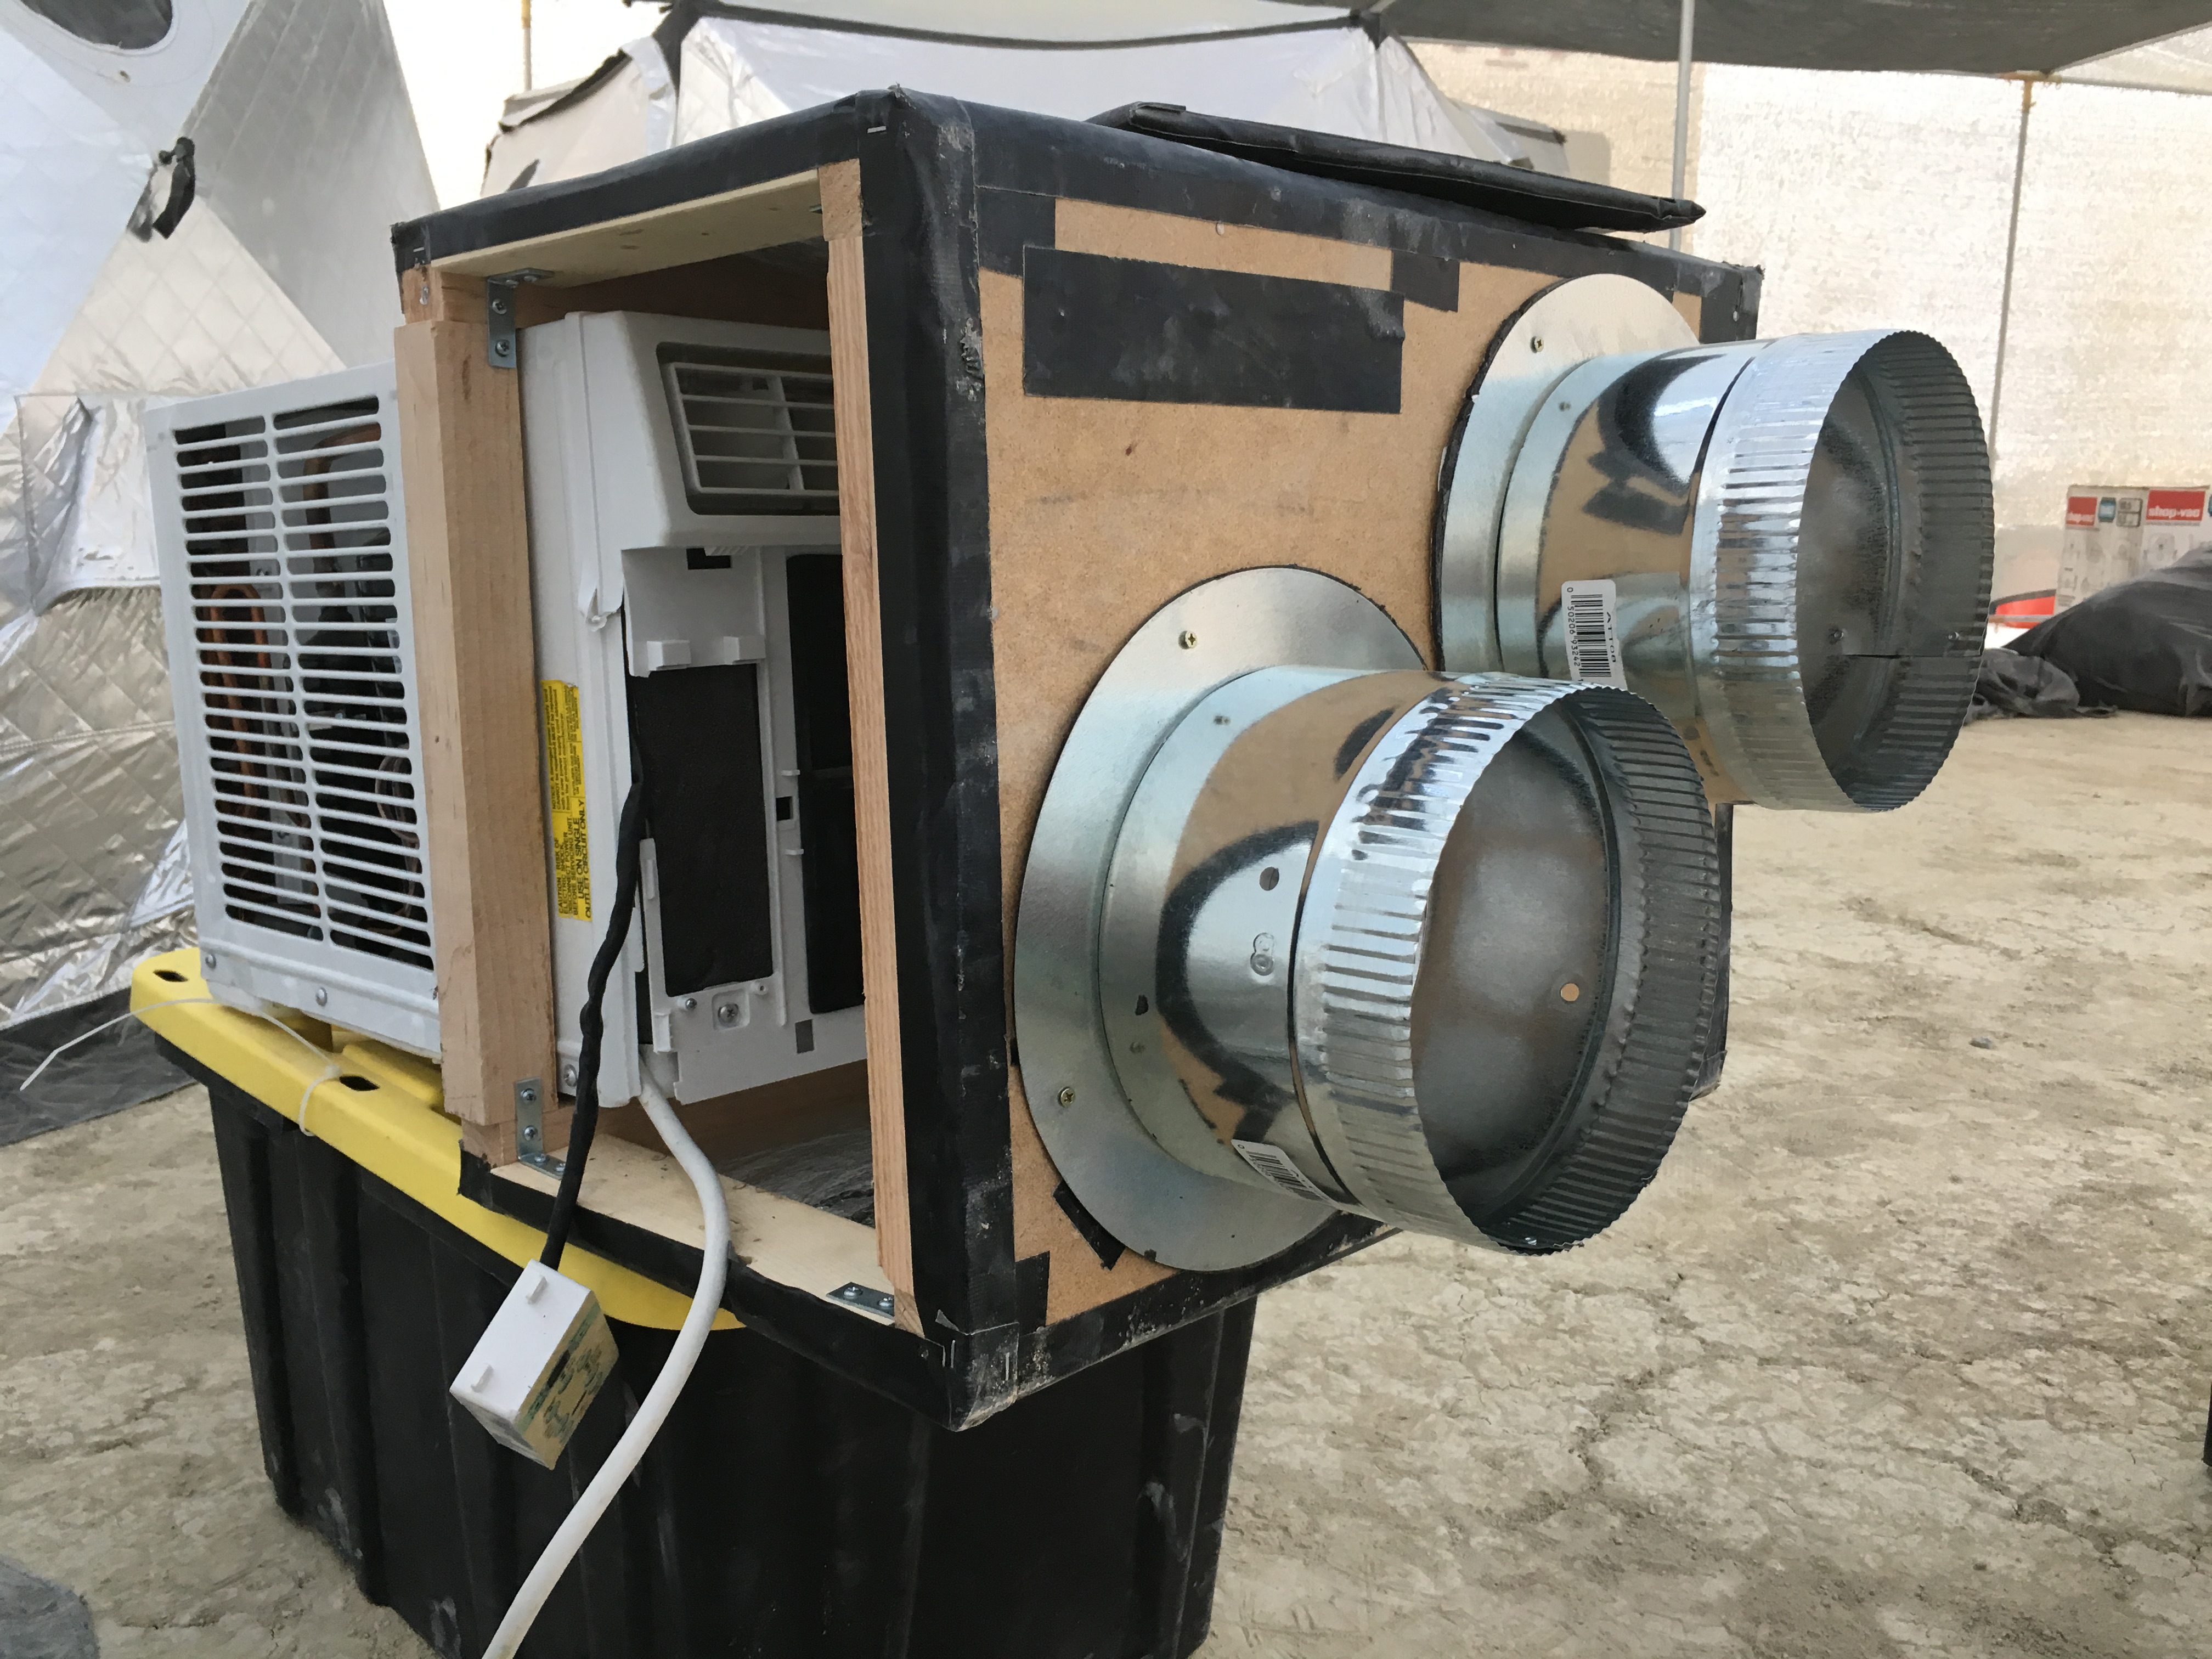
Boxes for the a/c units
Hand-made using lumber, hardboard and thermal insulation.
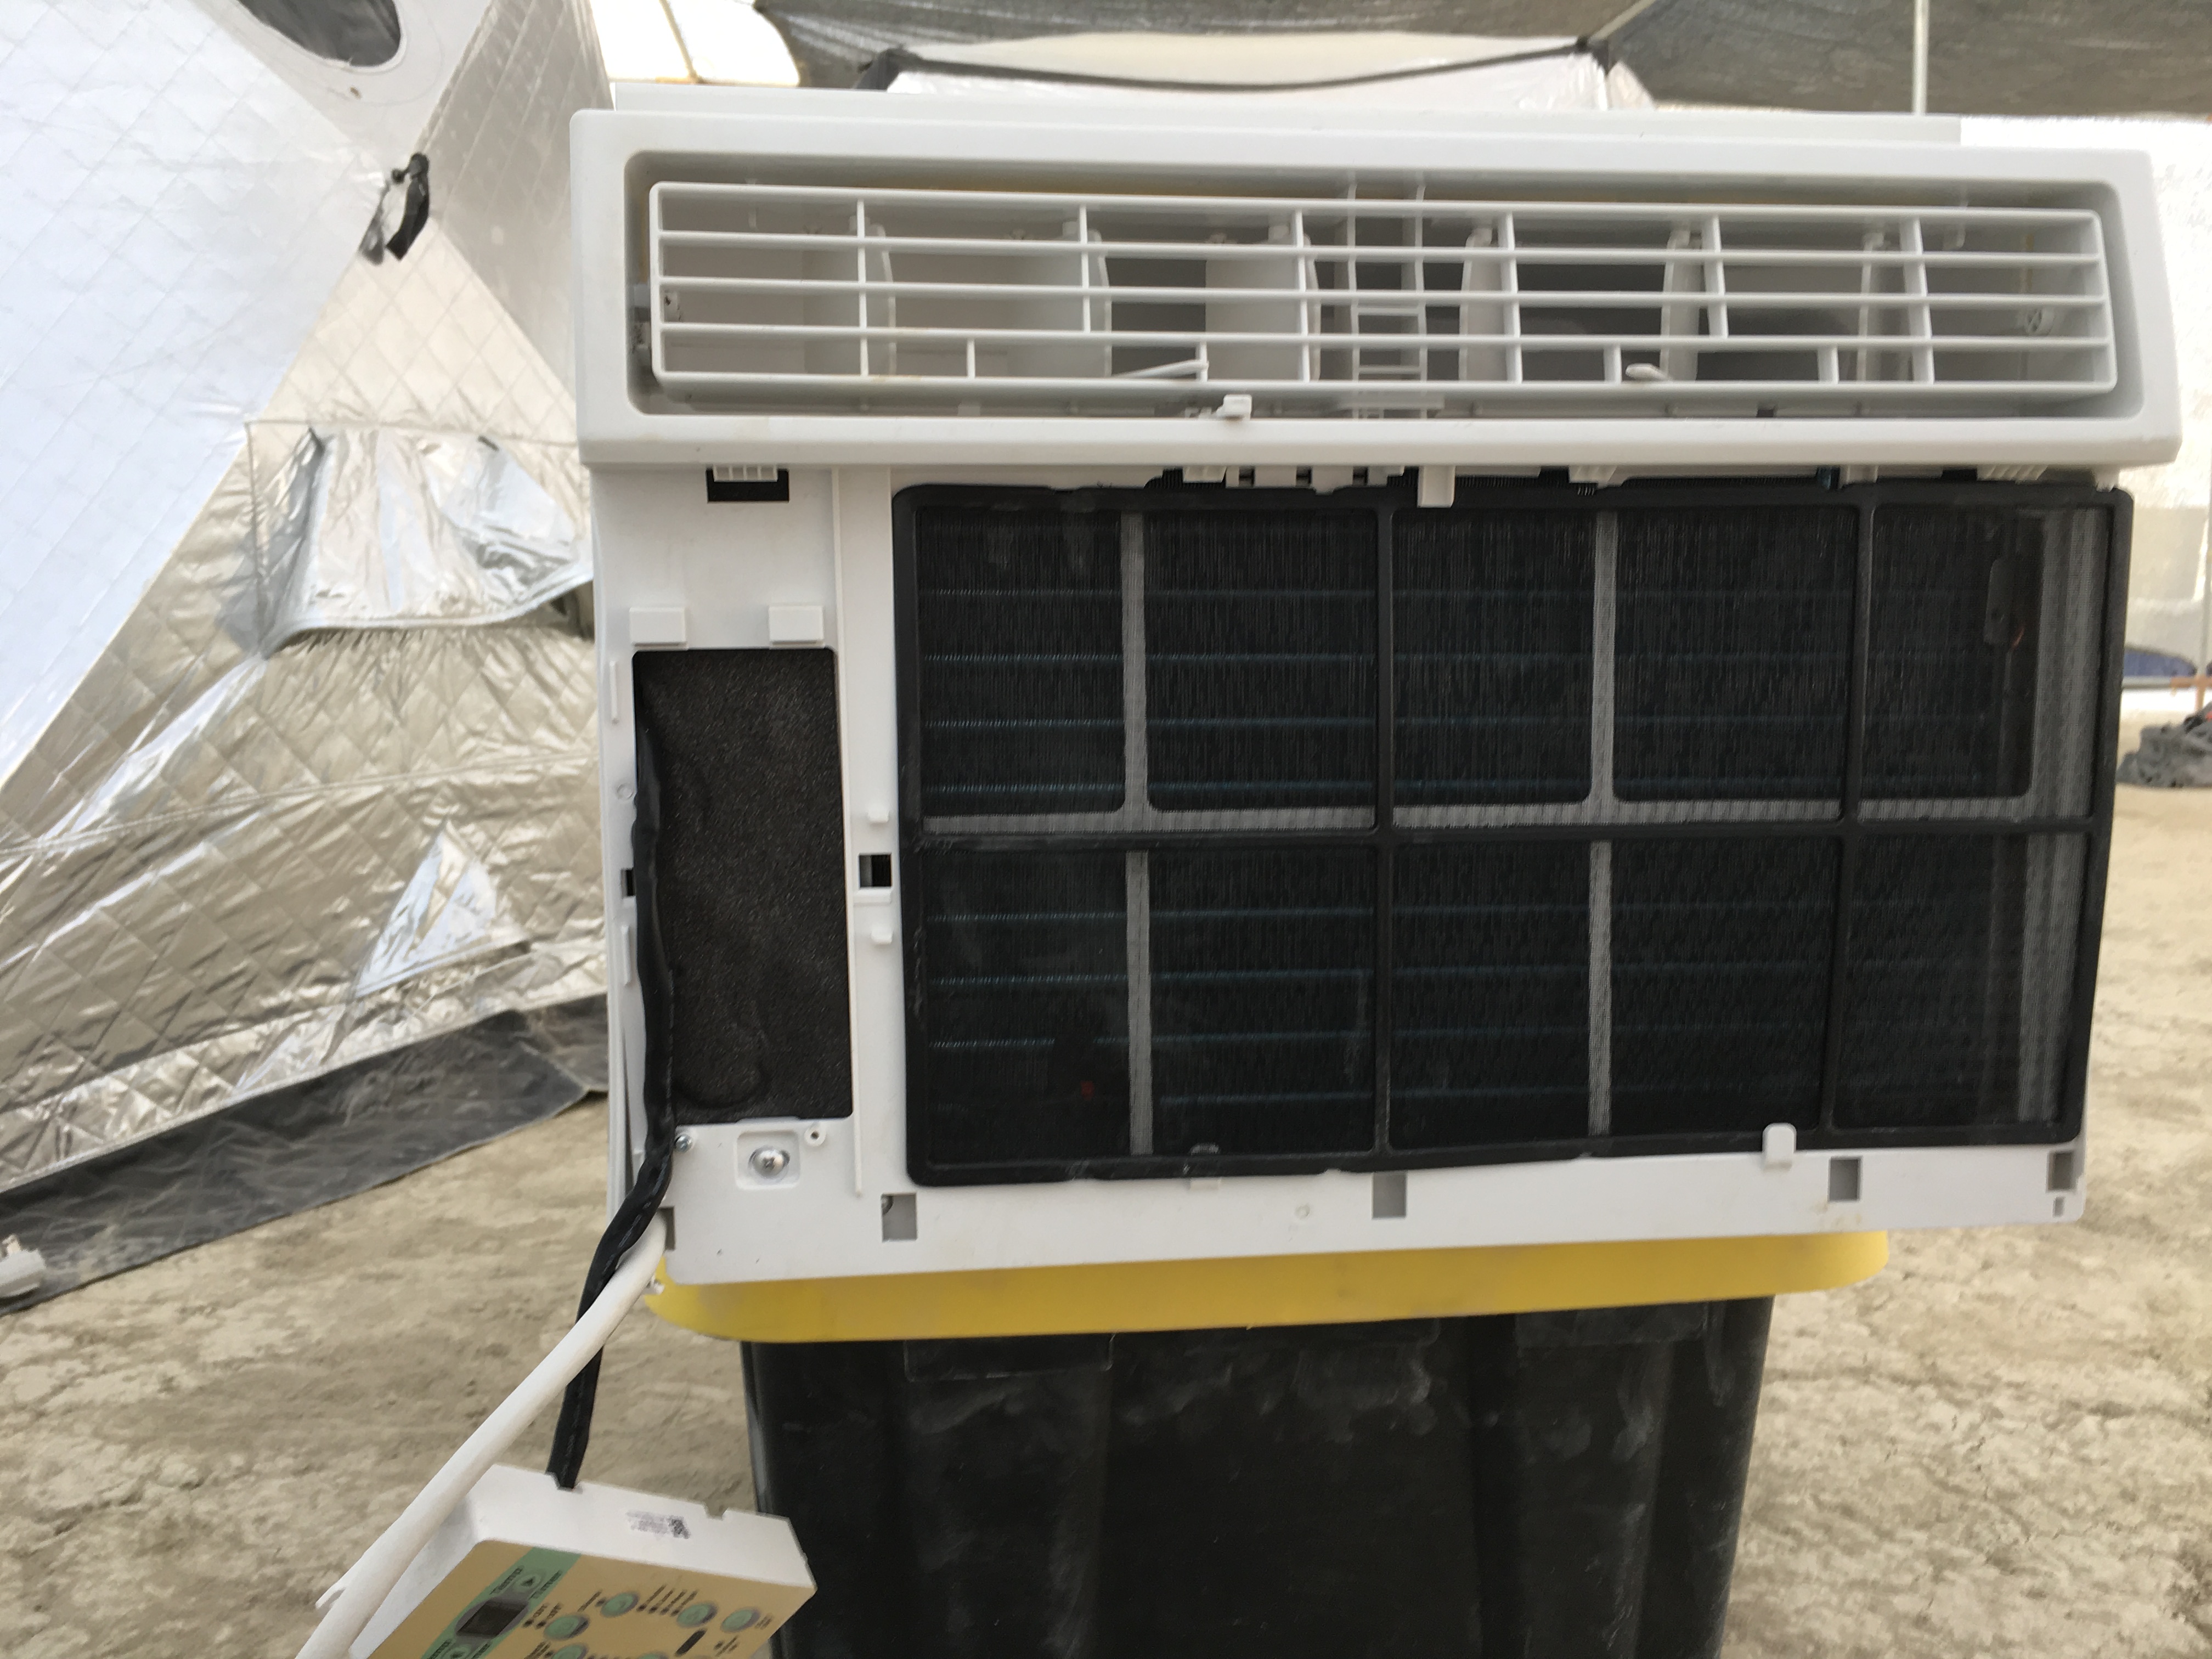
Installation
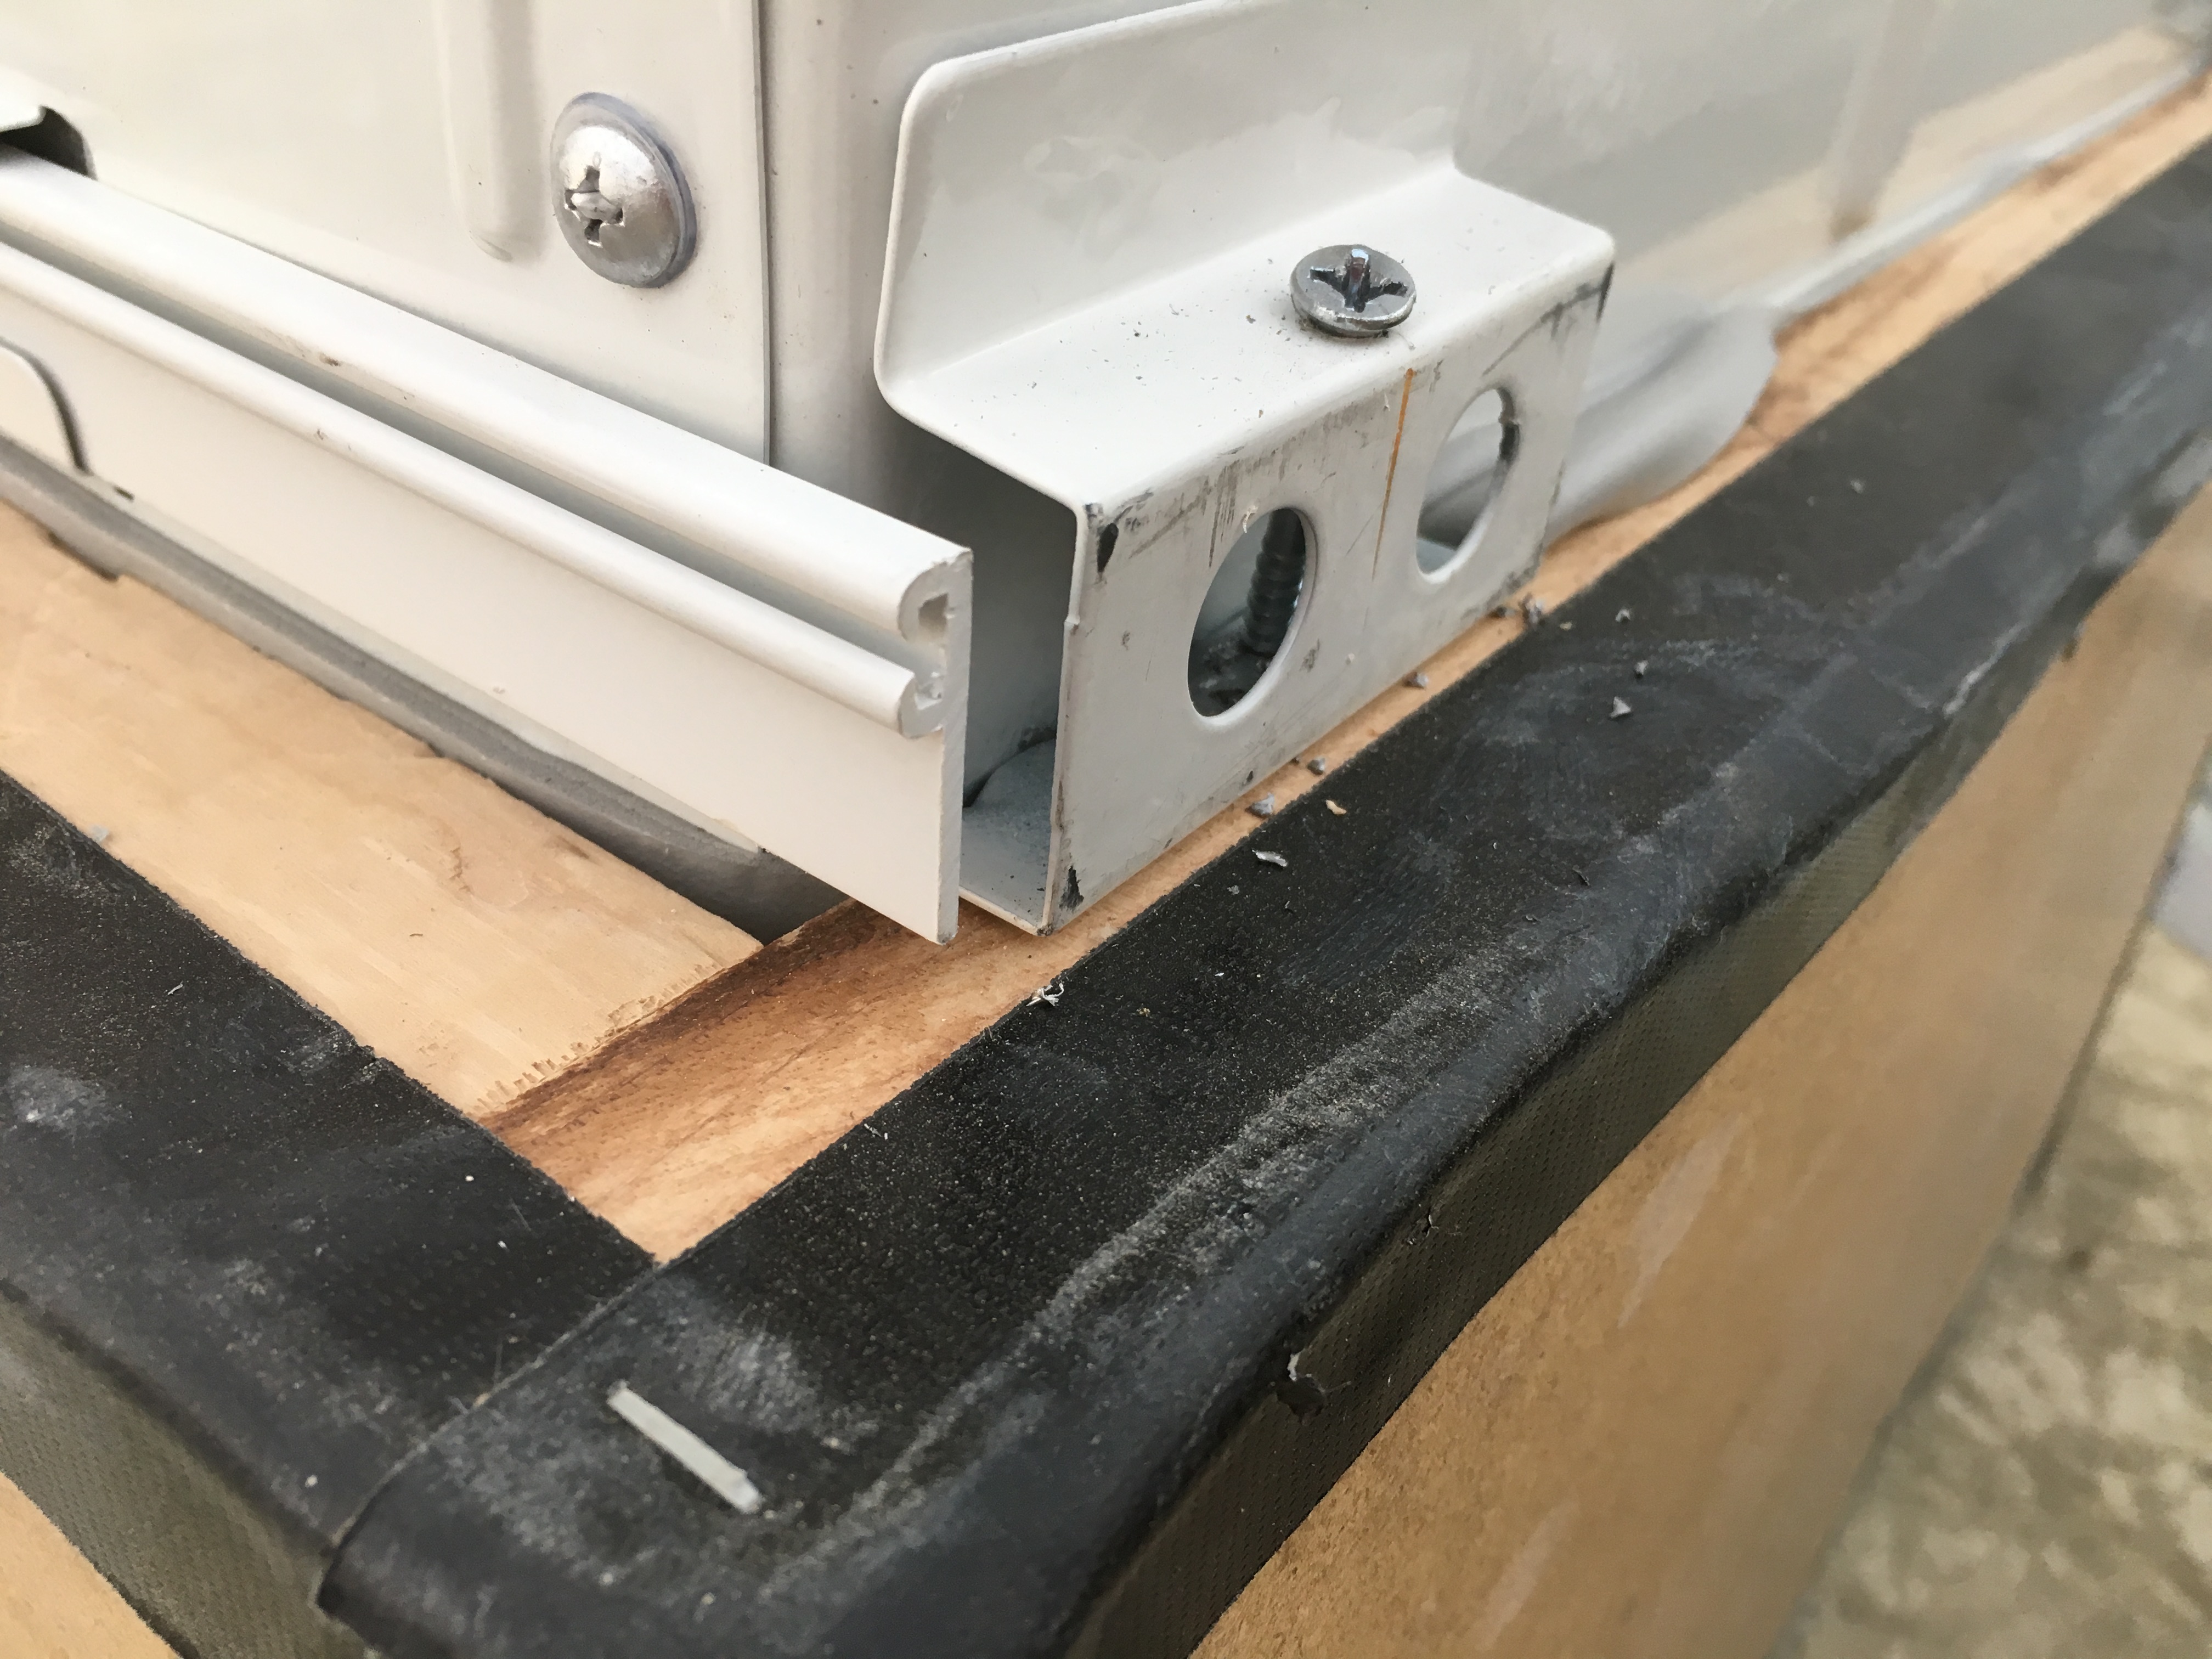
I removed the face panel from A/C units, and disconnected control panels to allow them to be used from outside of the wooden box.
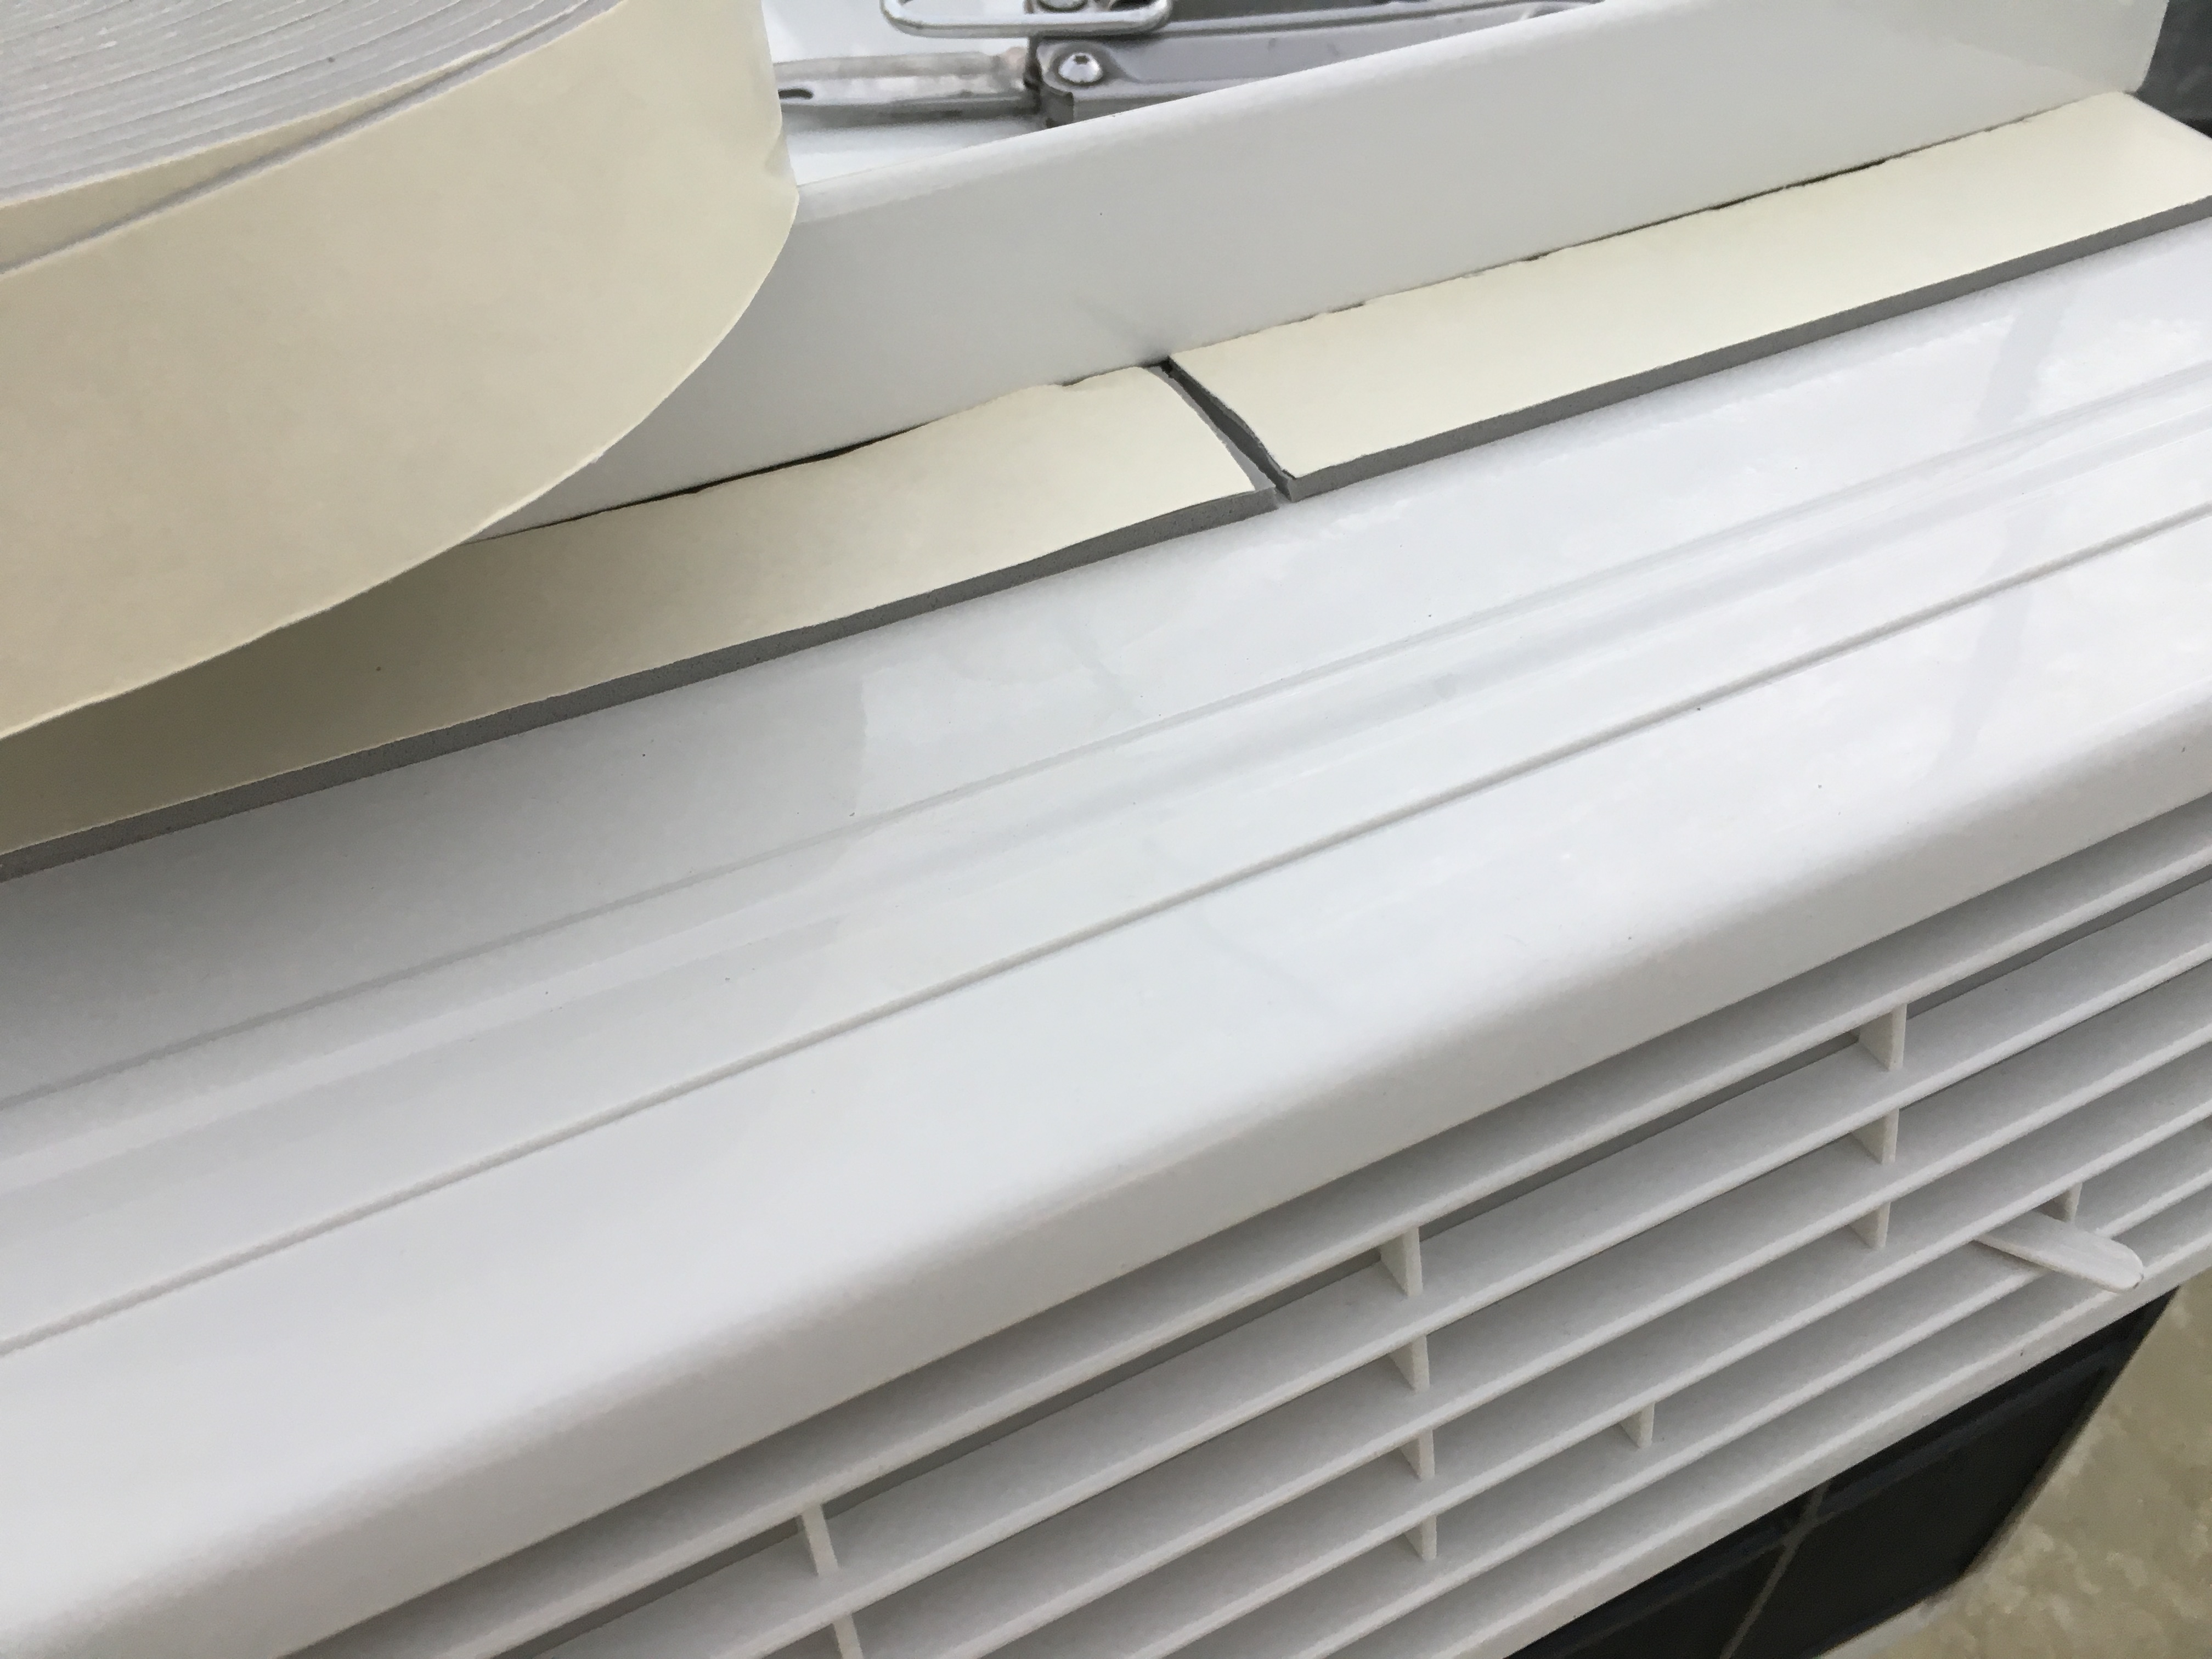
Self-sticking insulation tape was applied along the edge of the A/C unit (where it will be touching the box):
Boxes are simply screwed to the A/C units. Top:

Bottom:
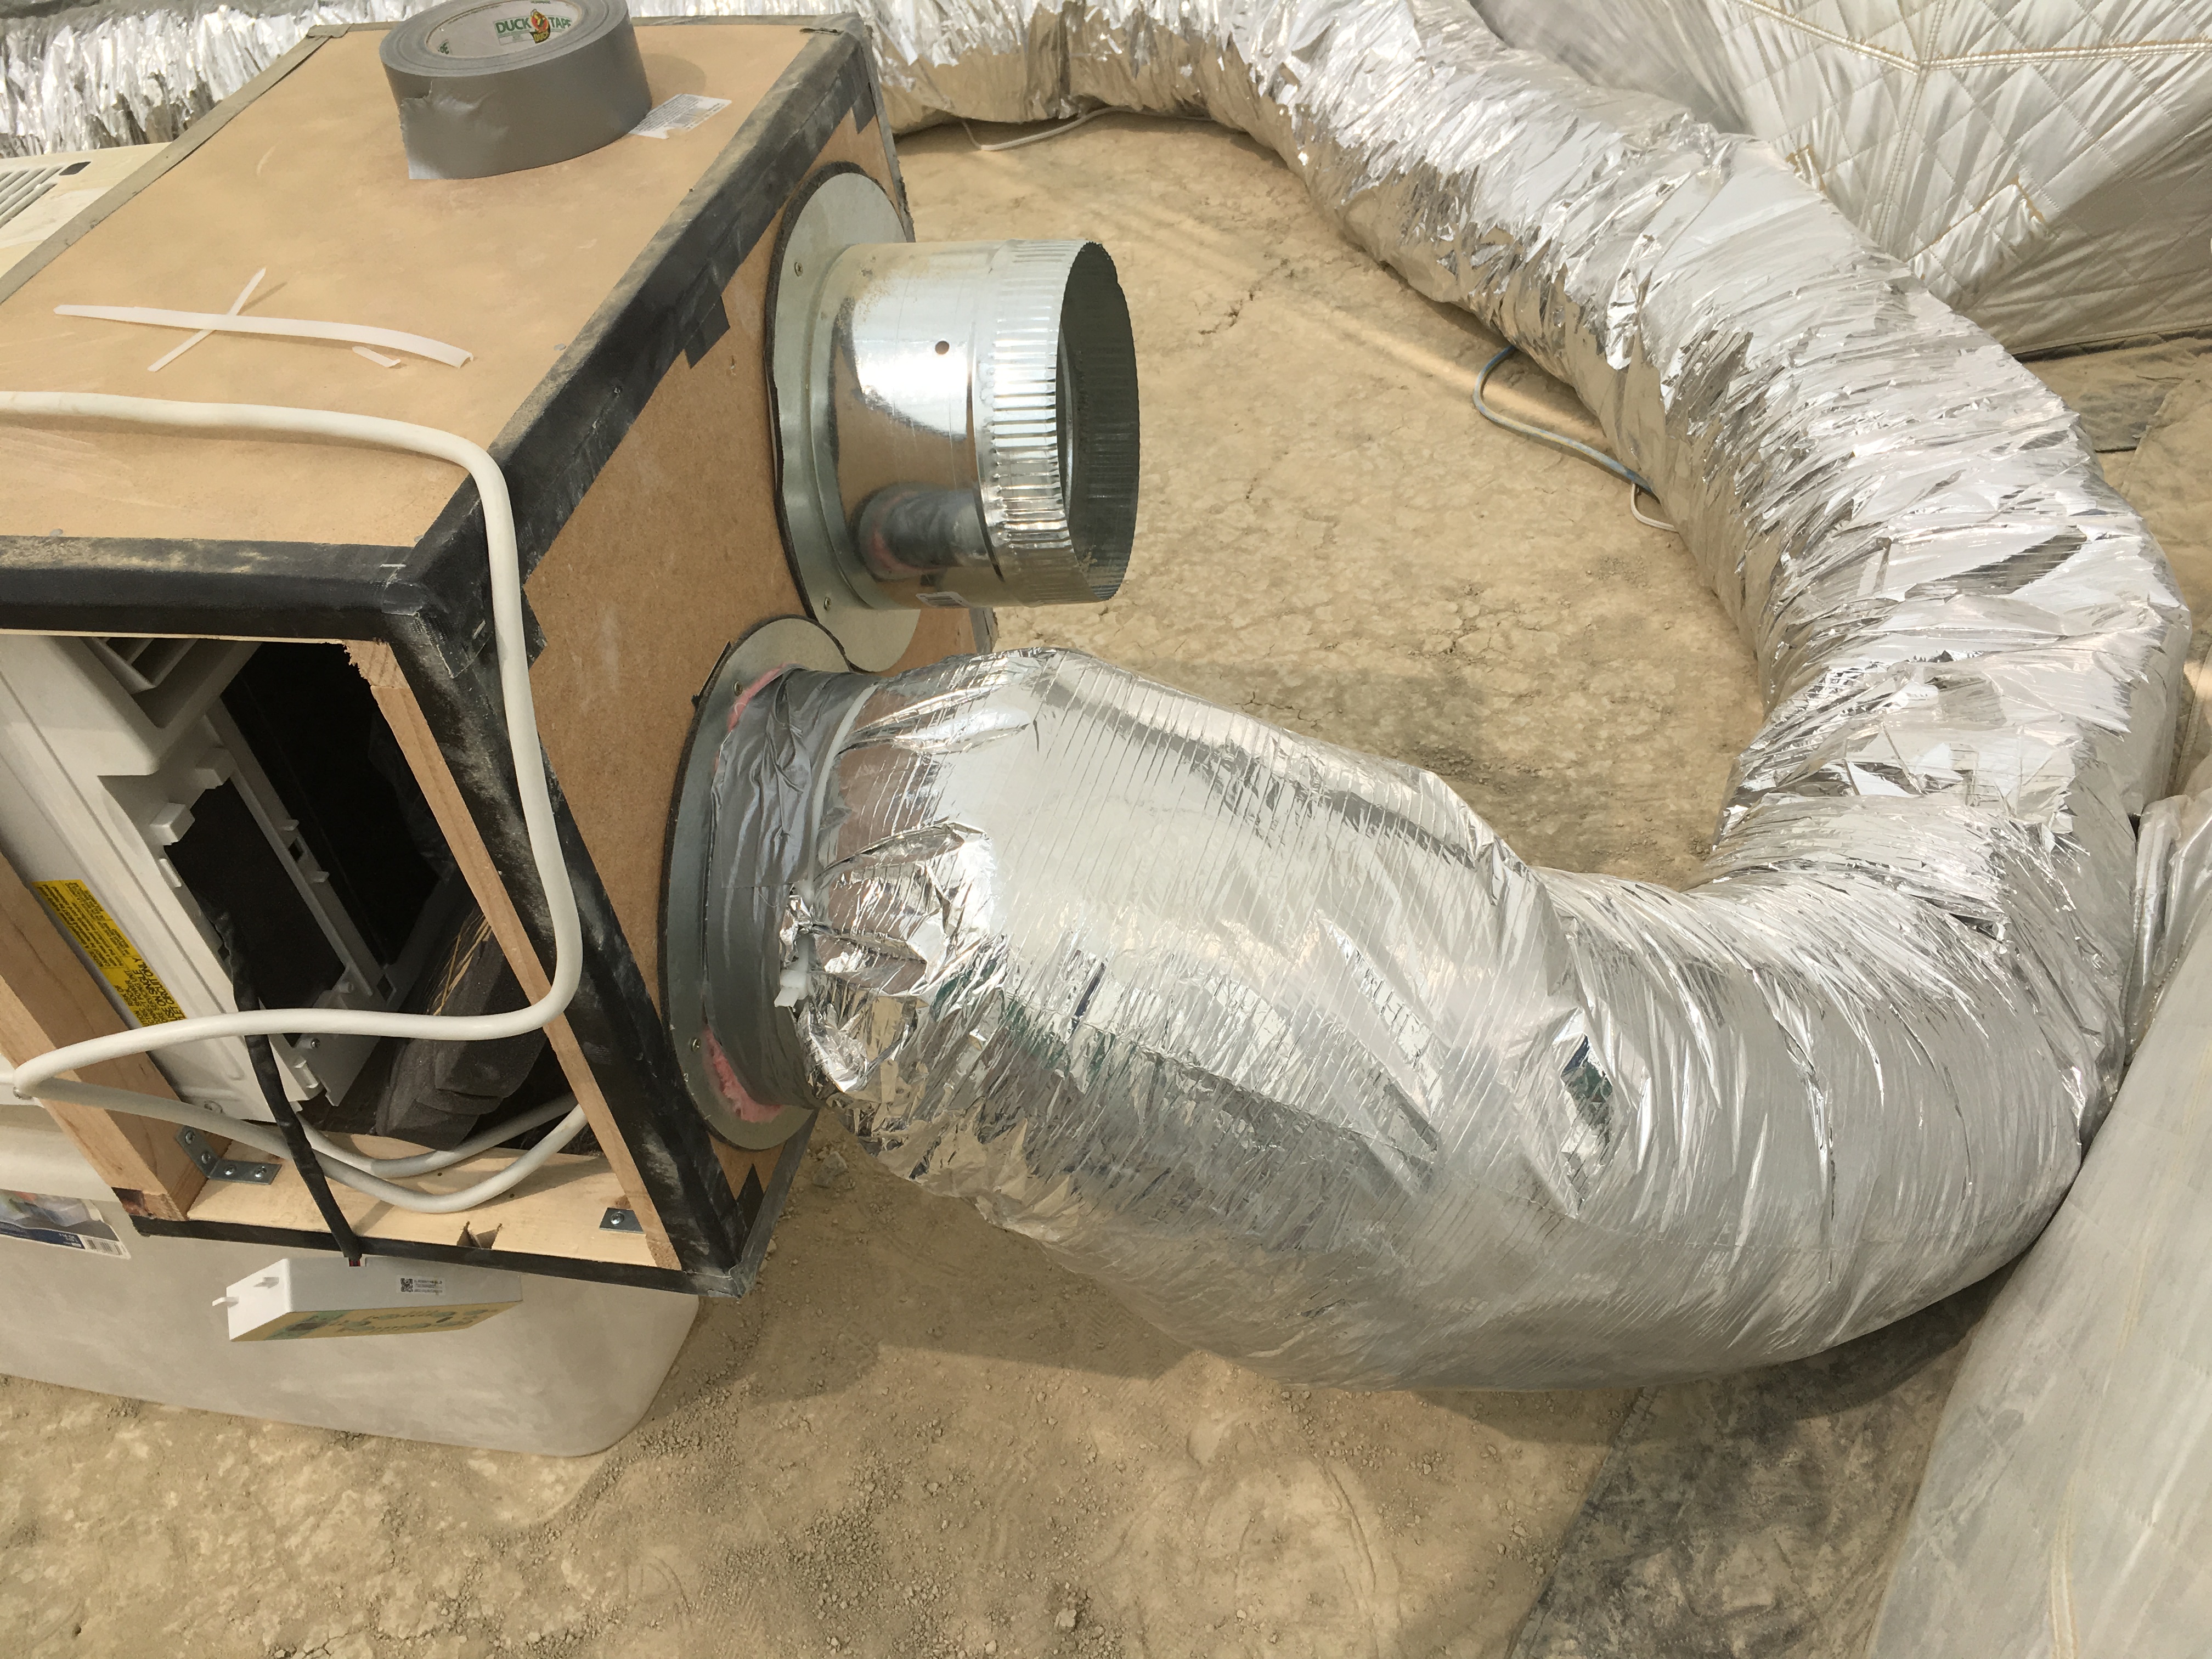
Take-off vents connected to the box. To protect A/C units from the dust I’ve also installed some aircon filters inside of the box where vents are connected (not visible on the photo).
Big ducts are first connected to the take-off vents and attached using duct tape and zip ties (well, not yet attached on the photo below).
Then another layer of duct tape and zip tie over the insulation layer:
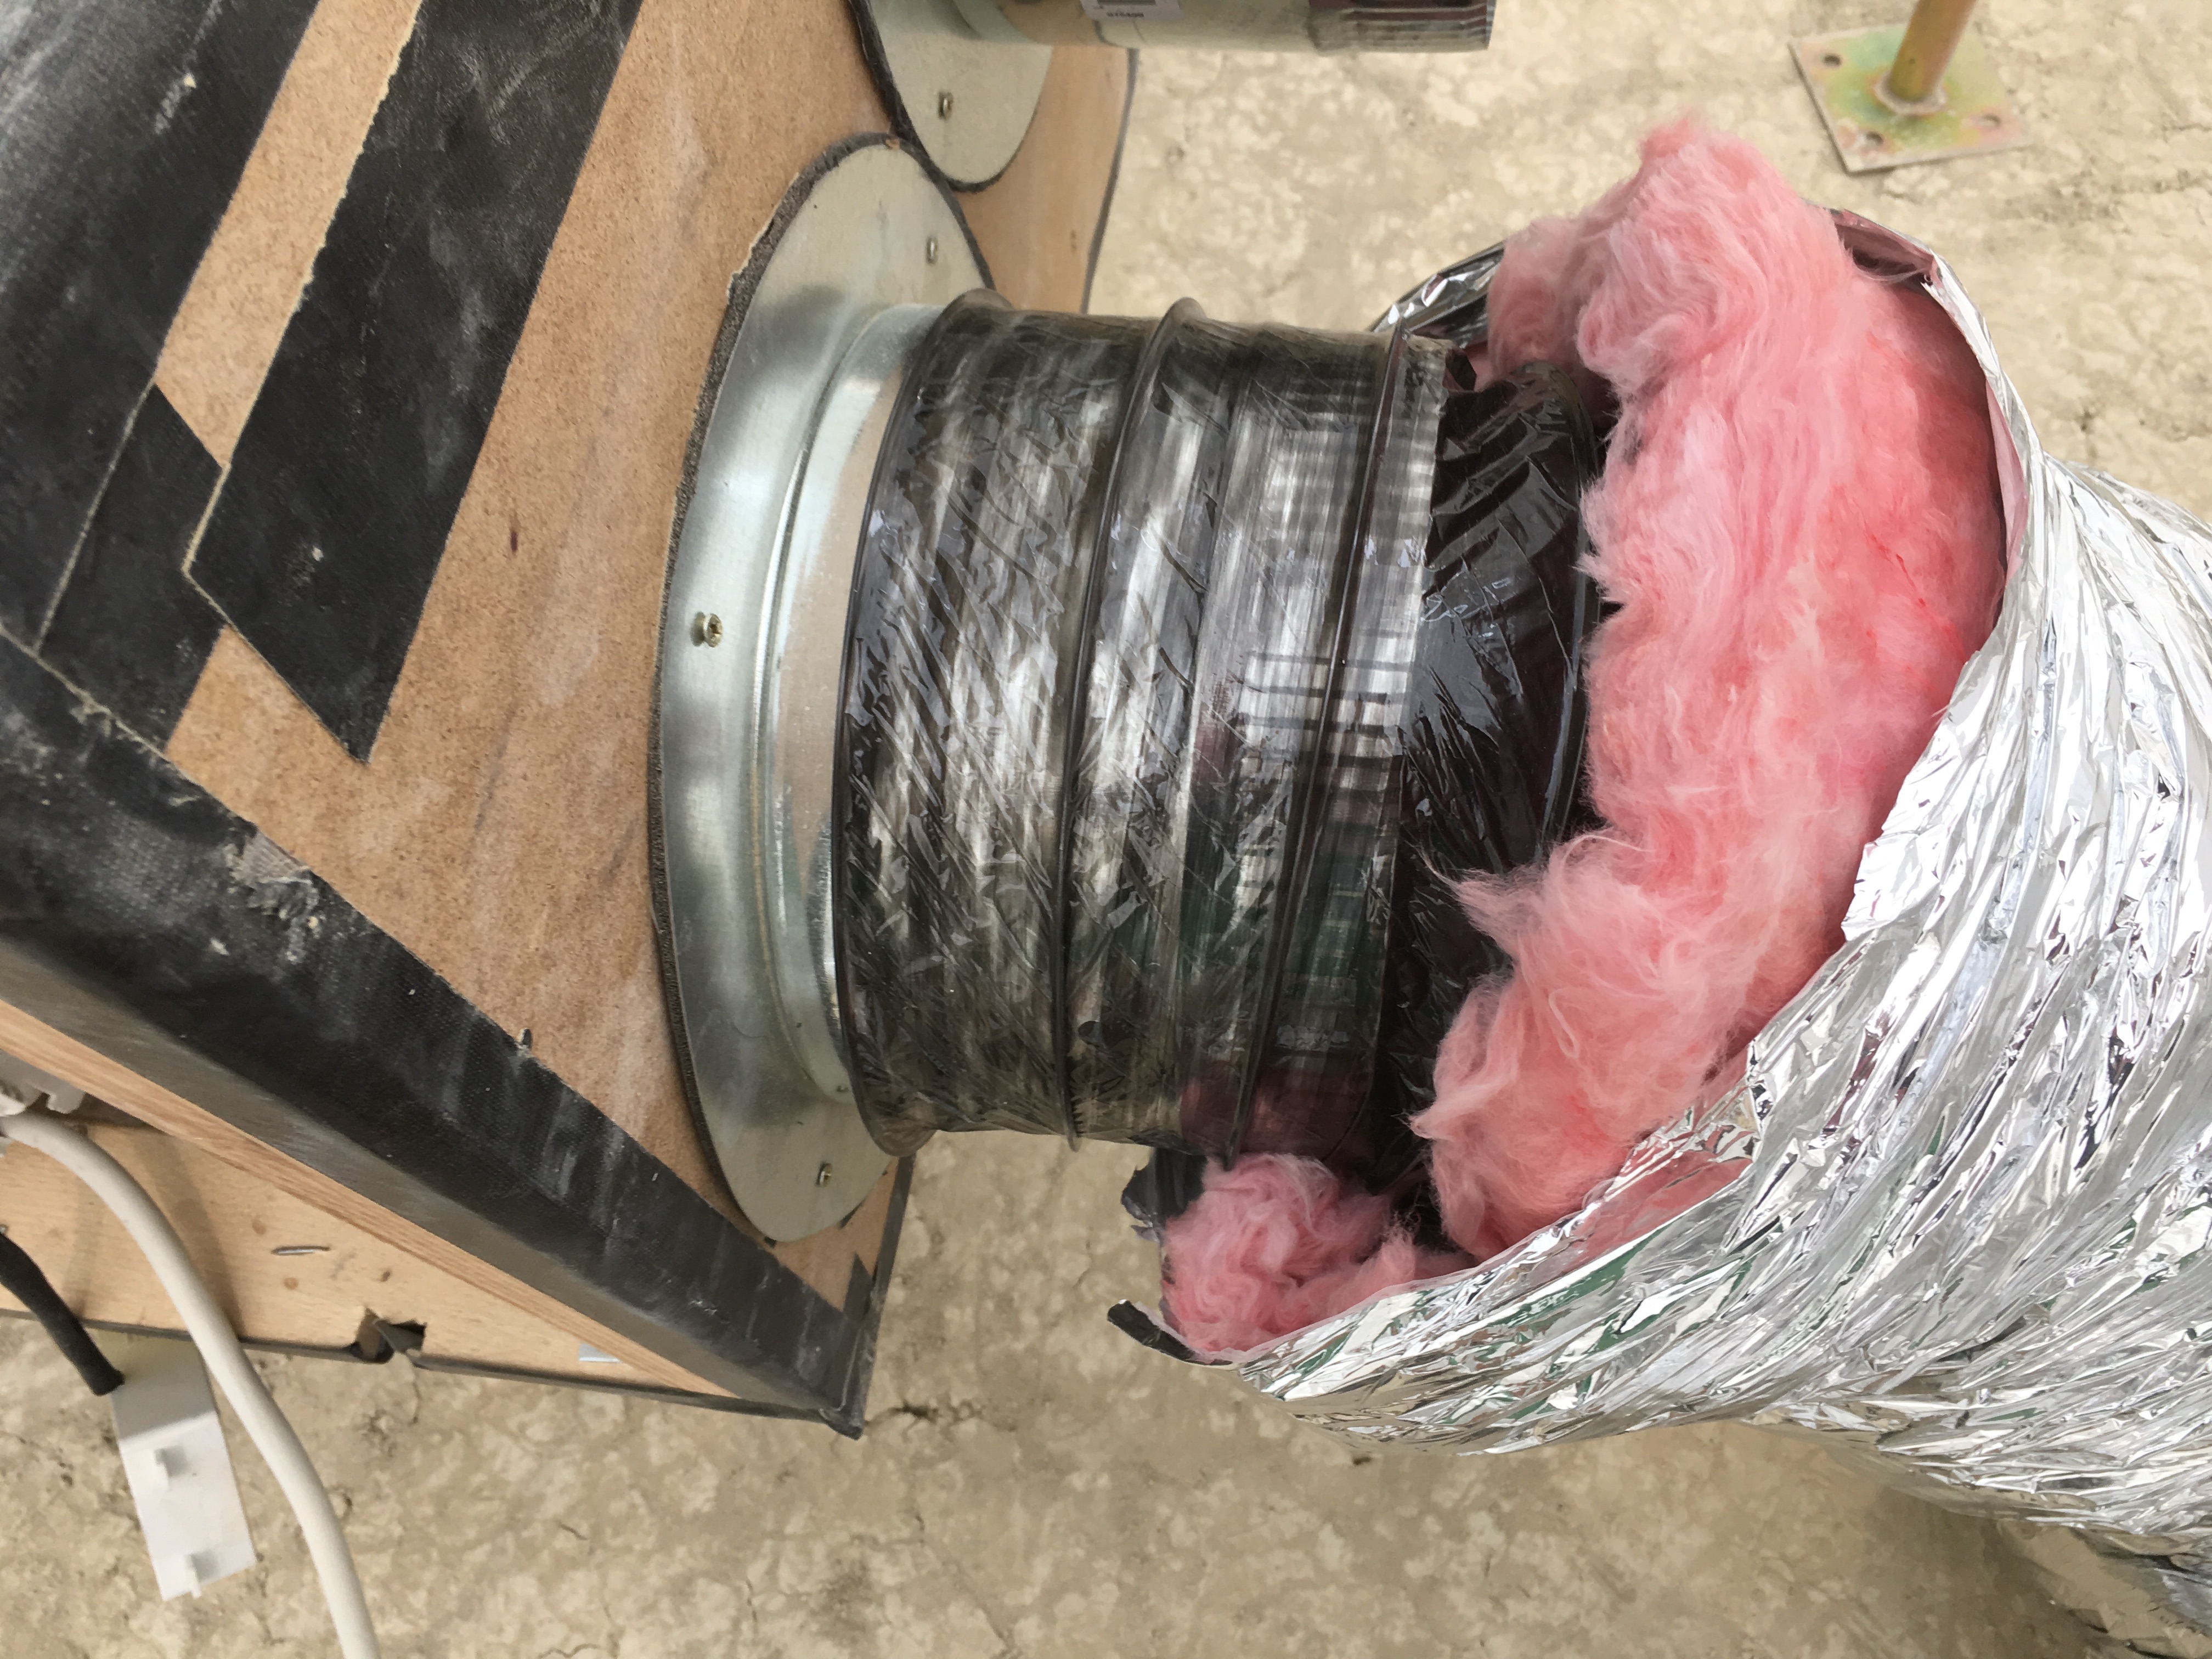
Smaller ducts don’t have separate insulation layer (they are pretty short and mostly indoors) and have a T-shaped connector (“Tee Saddle”) at the end that needs to be attached to the big duct:
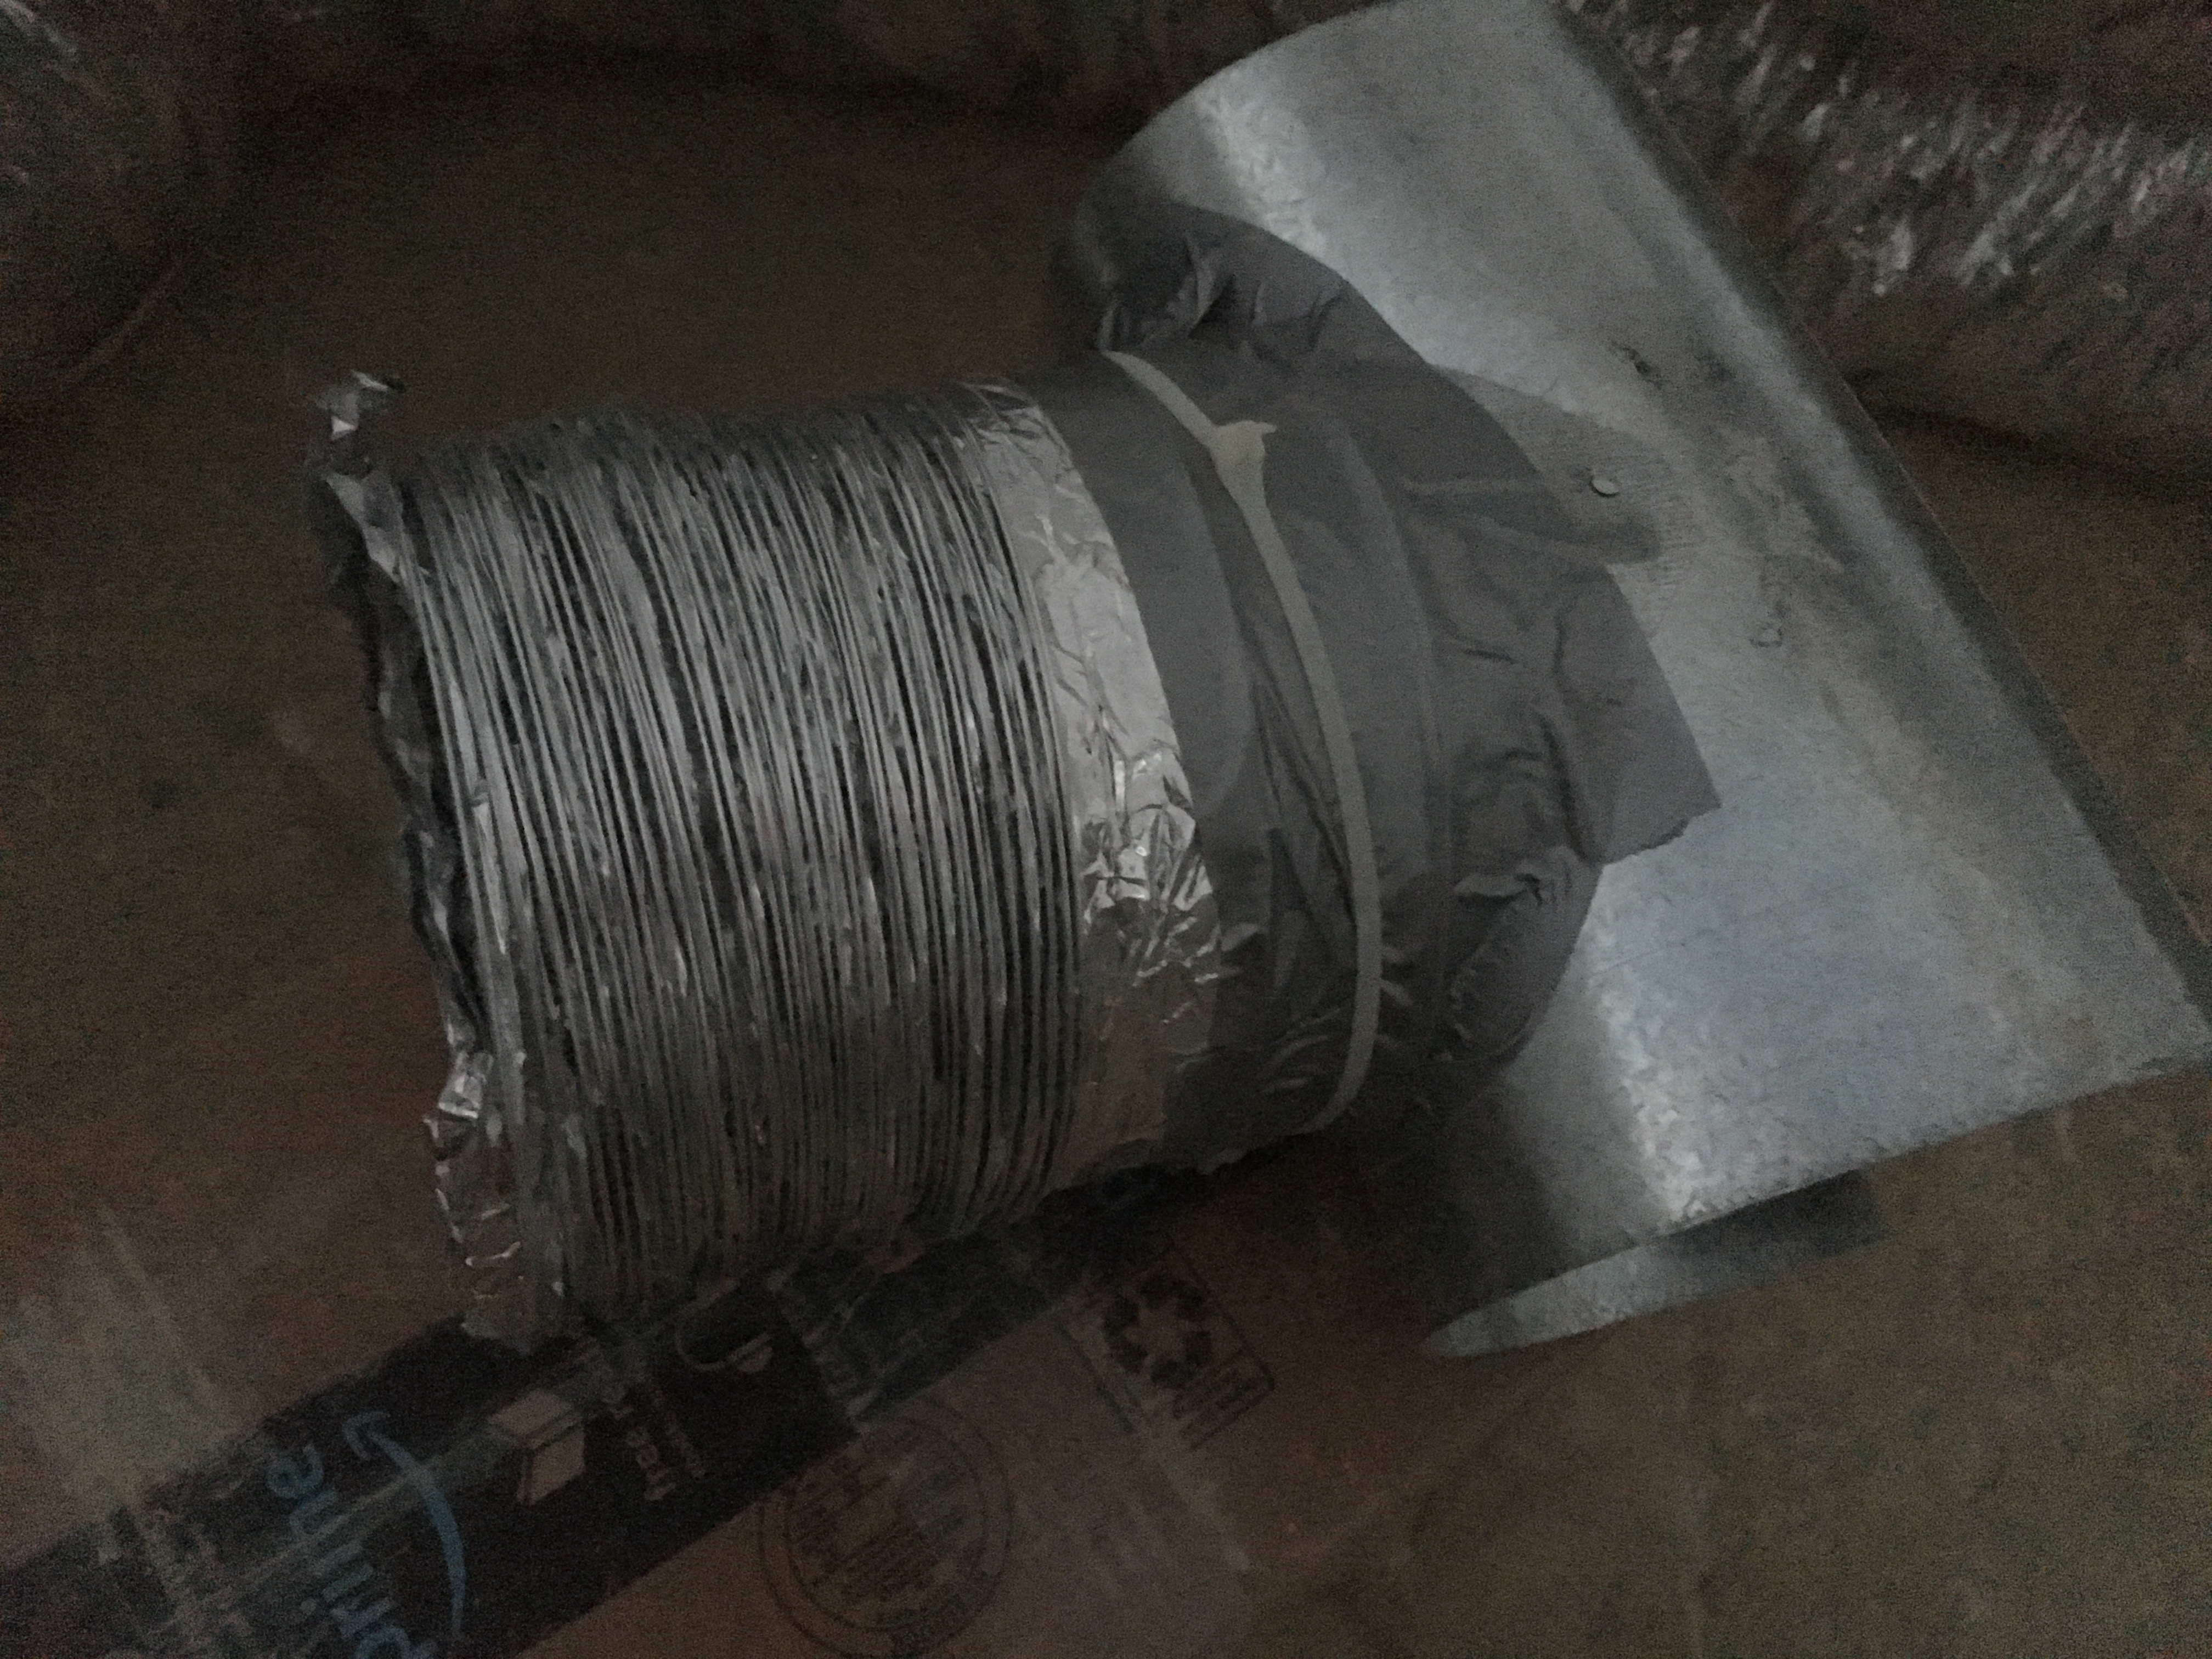
I could not find a good way to attach t-shaped connectors to the big ducts, so ended up cutting holes in them, inserting connectors, and duct taping over it. Something like this (note this T-connector does not yet have a smaller duct attached to it):

Materials and cost
- A/C units: 2 x Keystone 12K BTU, $302 each
- Boxes:
- 4 x Bigger lumber (1.375” x 1.375” x 8ft), $2 each
- 2 x Smaller lumber (0.656” x 1.375” x 8ft), $2 each
- 3 x Hardboard (0.115” x 23.75” x 47.75”), $4 each
- 2 x Aircon filters, $4.5 each
- A roll of Radiant barrier (48” x 6ft), $22
- A bunch of corner braces (I used these but wish I got bigger ones), $13
- Some screws, about $15
- Ducting:
- 4 x 8ft take-offs, $7 each
- 4 x Large insulated ducts (8” x 25ft), $35 each
- 2 x Splice 8” connector collars (to connect two large ducts together, since 25ft is too short), $11 each
- 2 x Small ducts (6” x 25ft), $22 each
- 12 x Tee Saddle (6”), $7.5 each
- 4 x Duct tape, $5.5 each
- Fans:
- 6 x 240 CFM 6” booster fans, $20 each
- 6 x dimmers for the fans, $12 each
- 6 x cheapest extension cords to get power into the shiftpods, $2 each
- Total: $1240 + tax, so about $1350 (or $225 per shiftpod).
Was this worth it?
- Did it work?
- People in 4 shiftpods reported that this made shiftpods noticeably cooler, but not cold. It made sleeping during the day possible, but still not super comfortable.
- People in 2 shiftpods reported no difference to the temperature.
- Setting this up took quite a lot of effort:
- Making boxes: about 8 hours for two people (without prior experience doing anything like this).
- Installation on playa: about 12 hours for two people. Connecting A/C units to the boxes and boxes to the bigger ducts was somewhat quick and fun. Making 12 small duct connectors and attaching them to the big ducts took a long time and was not fun at all.
- Cost: about $900 cheaper (or $150 per pod) than just buying six dual-vent aircon units. I’d say not worth it, given how painful it is to set this system up.
- Power: I believe this consumed less than 2KW, so we were able to use a single 3KW generator for the whole system. Individual aircon units per pod would have needed 3+ times more power.
- I have not designed a way to cleanly break down this whole system into smaller transportable units, and during camp teardown we had to cut the bigger ducts into several pieces to fit them into several big boxes that went into storage. I don’t think we disconnected the smaller ducts. This takes quite a lot of space in our storage.
Overall, it was a fun project, but it if you can afford dual-vent aircon units for each shiftpod (and a much bigger generator), it will be much simpler and more effective.